Imagine biting into a thick, chewy noodle that’s perfectly coated in a velvet-smooth sauce. It’s nutty, slightly spicy, and has just enough tang to keep you coming back for more. However, most home cooks end up with a gummy, sticky mess that feels more like a workout for your jaw than a gourmet meal.
For perfectly firm peanut noodles, pay close attention to the liquid ratio.
You can have this restaurant-quality dinner on the table in just 15 minutes, which is faster than most delivery drivers can find your house. The secret isn’t in a fancy ingredient or a hidden technique. It’s all about managing the starch and controlling your stove’s temperature to ensure a glossy finish every single time.
The real pro tip here is the cold-water shock. Most people think you should go straight from the boiling pot to the sauce, but that’s a recipe for disaster. Rinsing the noodles under cold water for 30 seconds removes the excess surface starch that causes clumping, leaving you with individual strands that stay slippery and distinct.
The Science of Starch: Why Udon Gets Gummy
Udon noodles are famous for their thick, bouncy texture, but that same wheat-heavy composition makes them incredibly starchy. When you drop them into boiling water, the starch on the outside of the noodle begins to gelatinize. This creates a sticky “glue” that wants to bond with everything it touches.
If you don’t intervene, that glue will seize up the moment it hits your peanut sauce. Therefore, you’ll end up with a thick paste rather than a pourable cream. By the time you try to stir it, the noodles have already fused together into a giant ball.
Washing the noodles under cold running water stops the cooking process instantly. More importantly, it physically strips away that gelatinized starch layer. When you touch the noodles after a good rinse, they should feel slick and firm, not tacky or soft. This creates the perfect canvas for your sauce to glide over.
Essential Components for Creamy Peanut Udon Noodles
The foundation of this dish is the peanut butter. You’ll want to reach for a standard creamy variety rather than the “natural” kind that separates in the jar. Standard creamy peanut butter contains stabilizers that help create a more consistent emulsion when mixed with liquids.
Acidity is your best friend when dealing with heavy fats. Rice vinegar provides a sharp, clean brightness that cuts through the richness of the peanuts. Without it, the dish can feel one-note and heavy on the palate. In addition, the soy sauce brings that essential umami depth that balances the sweetness of the honey.
Don’t skip the toasted sesame oil. It’s a finishing oil, meaning it’s there for aroma and a deep, roasted flavor. A little goes a long way, but it’s the ingredient that makes the whole kitchen smell like your favorite noodle shop.
Selecting the Right Udon: Fresh vs. Frozen
If you have a choice, go for the frozen “Sanuki” style udon bricks. These are flash-frozen at the peak of freshness and retain a superior “koshi,” which is the Japanese term for that perfect chewy-firm bite. Shelf-stable vacuum-packed noodles are convenient, but they can sometimes have a sour preservative scent and break more easily during the tossing phase.
The Role of Emulsifiers in Peanut Sauce
Honey does more than just sweeten the sauce; it acts as a stabilizer. When you whisk honey and warm water into the peanut butter, you’re creating a bridge between the fats and the liquids. This prevents the sauce from “seizing,” which is that frustrating moment when peanut butter turns into a gritty, hard lump.
Step-by-Step: Achieving the Perfect Noodle Texture
Success with this recipe depends on your ability to move quickly through three distinct phases. You aren’t just cooking; you’re managing textures. If you follow these sensory cues, you’ll avoid the common pitfalls of home-cooked pasta.
Phase 1: The Precision Boil and Cold Rinse
Start by bringing a large pot of water to a rolling boil. You don’t need to salt the water as heavily as you would for Italian pasta, as udon often contains salt already. Drop the noodles in and watch them closely. As soon as they pull apart easily with a fork, they’re done.
Immediately drain them and hit them with cold water. Use your hands to gently toss the noodles under the stream. You’ll actually feel the water go from cloudy and slippery to clear. Once the noodles feel cold to the touch and completely individual, let them drain thoroughly so they don’t water down your sauce.
Phase 2: Whisking the Velvet Peanut Base
In your mixing bowl, start with the peanut butter and slowly add your liquids. It will look broken and curdled at first. Don’t panic! Keep whisking, and as you add the warm water one tablespoon at a time, you’ll see it transform. It should eventually look like heavy cream or a thick pourable caramel. If it’s still stiff, add one more splash of water.
Phase 3: Low-Heat Integration and Coating
This is where most people go wrong. Turn your burner to the lowest setting possible. If the pan is too hot, the proteins in the peanut butter will tighten up and the oil will separate. Pour the sauce in, let it get just warm enough to loosen, and then slide in your cold noodles.
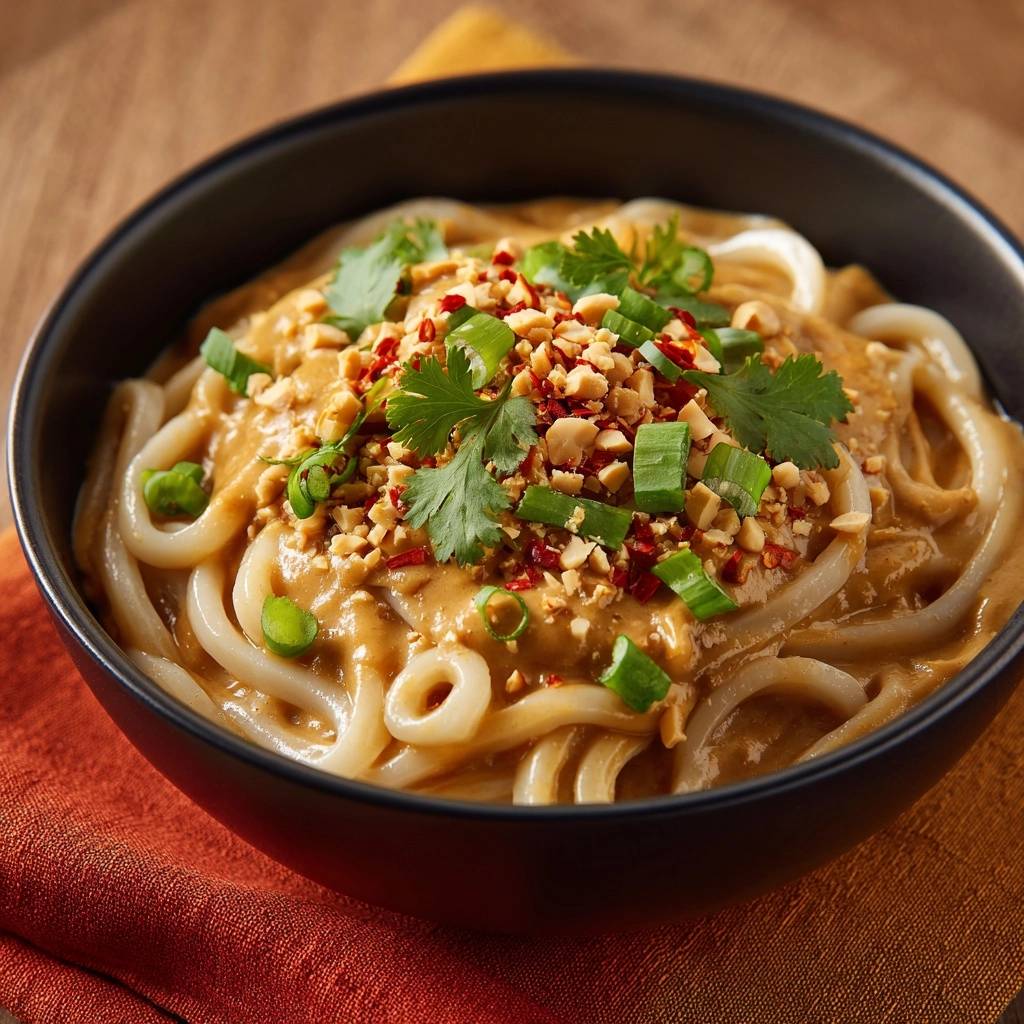
Use tongs to lift and fold the noodles into the sauce. You’ll see the sauce start to “hug” the noodles, creating a glossy, shimmering coating. As soon as the noodles are warmed through—usually about 90 seconds—pull the pan off the heat. The residual heat will finish the job without breaking the emulsion.
Troubleshooting Common Peanut Sauce Mistakes
If your sauce looks oily or grainy, it has likely “broken” due to high heat. You can often fix this by removing the pan from the stove and whisking in a teaspoon of room-temperature water very quickly. This can help re-emulsify the fats and bring back that smooth shine.
If the noodles seem too dry or the sauce is sticking to the pan, add a tablespoon of warm water. The noodles will continue to absorb liquid as they sit, so it’s always better to have a sauce that looks slightly too thin in the pan than one that is already thick. It will tighten up perfectly by the time it hits the bowl.
Flavor Variations and Protein Additions
While these noodles are a powerhouse on their own, they’re also a great “fridge-clearing” meal. You can toss in some thinly sliced bell peppers or snap peas during the last minute of heating for a fresh crunch. The sweetness of the peppers pairs beautifully with the earthy peanut base.
Vegetarian and Vegan Protein Pairings
Crispy seared tofu is the ultimate companion here. To make it work, sear the tofu separately until it’s golden and firm, then toss it in at the very end. This ensures the tofu stays crunchy rather than soaking up too much moisture and becoming soft. Edamame is another great high-protein addition that requires zero extra prep.
Adjusting the Heat Profile
The chili flakes in the recipe provide a gentle, back-of-the-throat warmth. If you want a more aggressive heat, try adding a teaspoon of chili crisp or a squeeze of Sriracha. For those who prefer a mild experience, swap the chili flakes for a tiny pinch of white pepper, which adds a floral heat without the burn.
Optimal Serving and Presentation Techniques
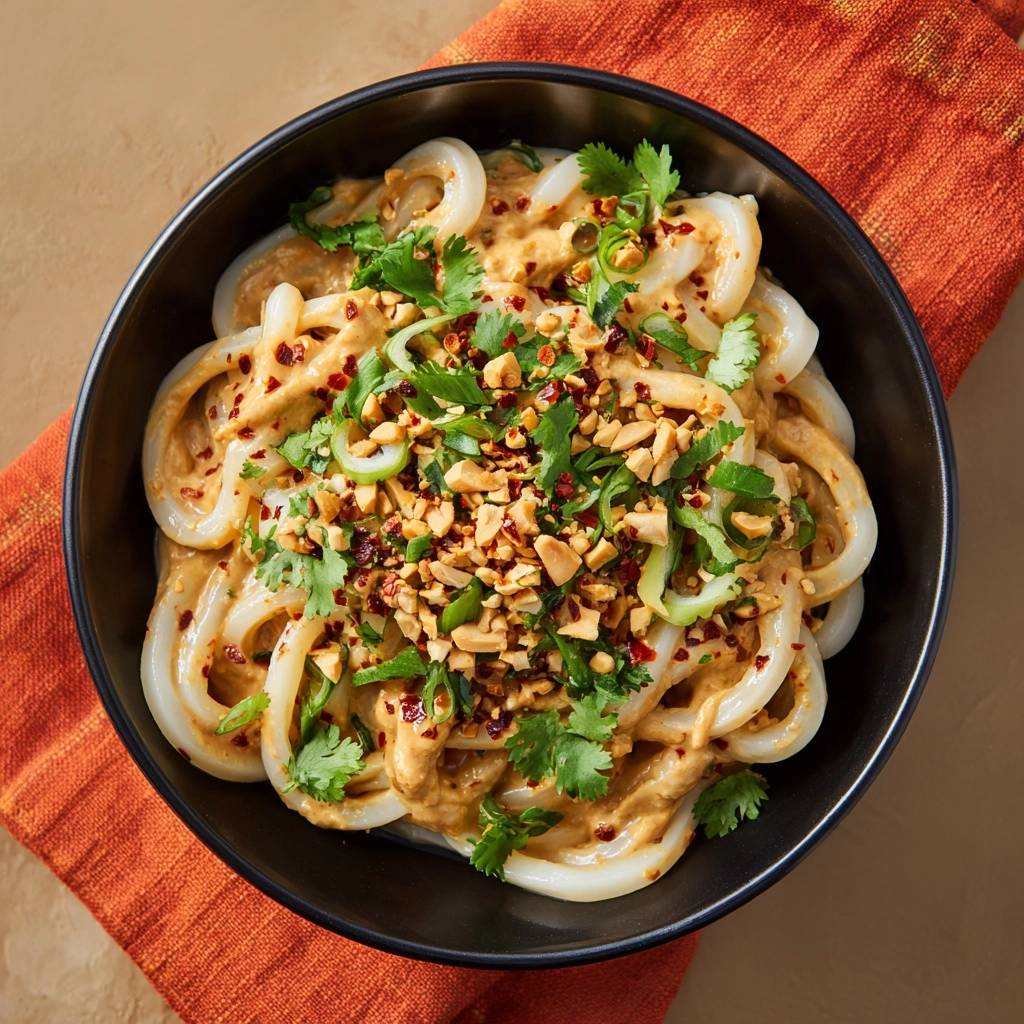
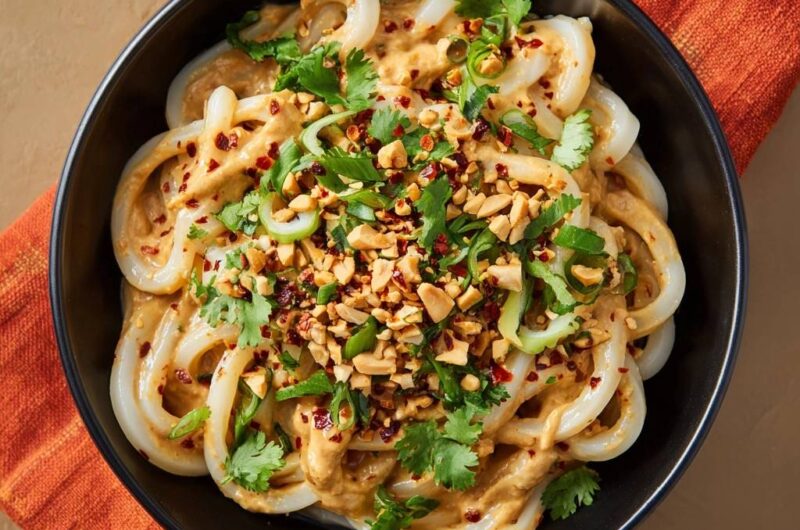
Presentation isn’t just about looks; it’s about the first bite. Use tongs to twirl the noodles into a high mound in the center of the bowl. This keeps the heat trapped inside the pile so they stay warm longer. Then, pile your garnishes right on top.
The fresh cilantro and green onions aren’t just for color. They provide a necessary “zip” that wakes up your taste buds between the rich, nutty bites. The crushed peanuts add a vital textural contrast, giving you a satisfying crunch against the soft, chewy udon.
Frequently Asked Questions
Can I make these noodles ahead of time?
Peanut sauce is notorious for thickening as it cools because the starches in the noodles continue to drink up the moisture. While you can make them ahead, they are best served fresh. If you must make them in advance, store the sauce and the rinsed noodles separately. Combine them in a pan over low heat when you’re ready to eat.
What is the best substitute for rice vinegar?
If you’re out of rice vinegar, a squeeze of fresh lime juice is the best alternative. It provides a similar level of acidity but adds a citrusy brightness. Apple cider vinegar also works in a pinch, though it has a slightly fruitier, more aggressive flavor profile. Avoid using heavy balsamic or plain white distilled vinegar, as they can be too overpowering.
How do I store leftover Creamy Peanut Udon Noodles?
Store any leftovers in an airtight container in the refrigerator for up to 3 days. When you’re ready to reheat, don’t just pop them in the microwave as-is. Add a splash of water or broth to the bowl first. This extra moisture will help the peanut sauce loosen back up into a creamy state rather than staying a solid clump.
Can I use almond butter or tahini instead?
Yes, you can substitute other nut or seed butters. Almond butter is a bit sweeter and thicker, so you might need an extra tablespoon of water. Tahini is much more bitter and earthy, so you should increase the honey by a teaspoon to balance the flavors. Keep in mind that the fat content varies, so always add your water slowly until the consistency looks right.
Peanut Udon Noodles
Course: Main CourseCuisine: Asian FusionDifficulty: easy2
servings10
minutes5
minutes510
kcal15
MinutesA quick and silky udon noodle dish featuring a glossy peanut sauce. The recipe focuses on starch management and low-heat emulsion to ensure a smooth, non-pasty texture.
Ingredients
14 ounces fresh or frozen Udon noodles
1/2 cup creamy peanut butter
2 tablespoons soy sauce
1 tablespoon rice vinegar
1 tablespoon honey
1 teaspoon toasted sesame oil
1 teaspoon chili flakes (plus extra for garnish)
1/4 cup warm water (or reserved noodle water)
1/4 cup roasted peanuts, roughly chopped
2 green onions, thinly sliced on a bias
1/4 cup fresh cilantro, roughly chopped
Directions
- Bring a large pot of water to a rolling boil. Add the udon noodles and cook for 2 to 3 minutes (or according to package instructions) until they are just loosened and al dente.
- Immediately drain the noodles into a colander and rinse them under cold running water for 30 seconds, tossing them with your hands. This is the critical step to remove excess surface starch, which is the primary cause of gummy, sticky pasta.
- In a medium bowl, whisk together the peanut butter, soy sauce, rice vinegar, honey, sesame oil, and chili flakes. Gradually whisk in the warm water one tablespoon at a time until the sauce reaches a smooth, pourable, cream-like consistency.
- Place a large skillet or wok over low heat. Add the prepared peanut sauce. Once the sauce begins to barely simmer, add the cold, rinsed noodles.
- Toss gently for 1 to 2 minutes using tongs or chopsticks until the noodles are thoroughly coated and warmed through. Keeping the heat low is essential; high heat will cause the peanut butter to break, making the sauce oily and grainy rather than creamy.
- Transfer the noodles to bowls. To match the visual presentation, pile the noodles high and top the center generously with the chopped peanuts, sliced green onions, fresh cilantro, and an extra sprinkle of chili flakes for heat and color. Serve immediately.
Notes
- Rinsing noodles under cold water is critical to remove excess starch. Keep heat low when combining noodles and sauce to prevent the peanut butter from breaking and becoming oily.