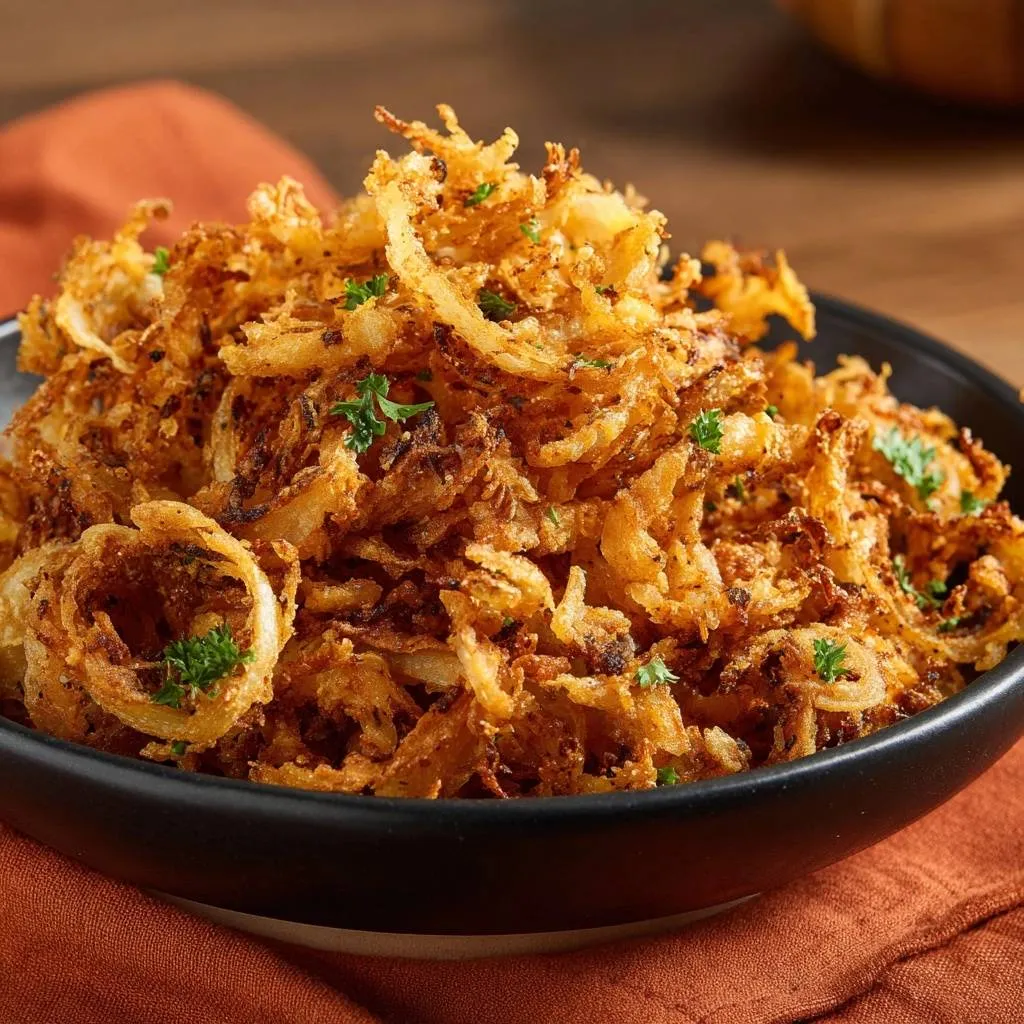
Imagine biting into a mountain of golden ribbons that shatter with a satisfying, salty crunch. These aren’t those heavy, doughy rings that slide out of their coating; these are delicate, paper-thin Crispy Fried Onion Strings that pack a punch of savory flavor. Most home cooks struggle with homemade versions that turn into a greasy, limp mess within minutes of leaving the oil.
The secret to restaurant-quality results lies in a specific “Anti-Soggy” philosophy that focuses on moisture management and starch ratios. By moving away from thick batters and embracing a dry-dredge technique, you create a jagged, ultra-crispy texture that stays crunchy even after it hits the plate. It’s the difference between a soggy side dish and a professional-grade garnish.
For even more crunch, explore how to achieve shatteringly crisp onion rings using similar frying principles.
I’ve found that the real magic happens when you introduce cornstarch to your flour mixture. While flour provides the bulk, cornstarch acts as a moisture-blocker that prevents the coating from becoming chewy or bread-like. This simple ratio adjustment ensures that every single strand maintains its “shattered-glass” texture long after it cools down.
The Science of the Perfect Onion Crunch
Frying is essentially a race between heat and moisture. When you drop an onion into hot oil, the water inside the vegetable rapidly turns to steam and escapes. If your coating is too thick or lacks the right structure, that steam gets trapped, which leads to a soggy, detached crust. This is why moisture is the ultimate enemy of a long-lasting crunch.
The buttermilk soak serves a dual purpose in this recipe. Firstly, the acidity in the buttermilk helps break down the harsh sulfur compounds in the raw onions, leaving you with a mellow, slightly sweet flavor. Secondly, the proteins in the buttermilk act as a high-performance “glue.” This sticky surface allows the flour and cornstarch to bond tightly to the onion, ensuring the coating doesn’t slide off during the frying process.
Using a 100% flour dredge often results in a heavy, gluten-heavy shell that absorbs too much oil. However, adding cornstarch changes the chemistry of the crust. Cornstarch contains no gluten, so it interferes with the flour’s protein strands. This results in a lighter, crispier shell that shatters rather than bends. It creates a barrier that locks out oil while allowing internal steam to escape efficiently.
Essential Components for Crispy Fried Onion Strings
Success starts with the right onion. I always reach for large yellow onions because they have a higher sugar content than white onions, which helps them caramelize and brown beautifully in the oil. Red onions can work, but their color often turns a muddy grey-purple when fried, which isn’t nearly as appetizing as that classic golden hue.
Full-fat buttermilk is another non-negotiable for me. The thickness of full-fat buttermilk provides a better coating than low-fat versions, ensuring the dredge sticks to every nook and cranny. For the seasoning, we use a blend of garlic powder, black pepper, and a hint of cayenne. These spices penetrate the coating, providing a savory warmth that balances the sweetness of the fried onion.
Why Paper-Thin Slices are Non-Negotiable
The surface-area-to-volume ratio is the most important factor here. If your slices are too thick, they retain too much internal moisture. That moisture eventually turns into steam, which softens the crust from the inside out as the onions sit. I highly recommend using a mandoline set to its thinnest setting. Consistent, paper-thin slices ensure that the moisture cooks out almost instantly, leaving nothing but a crisp, dry shell.
The Cornstarch and Flour Ratio Secret
We use a 3:1 ratio of all-purpose flour to cornstarch. This specific balance is the “sweet spot” for frying delicate vegetables. The flour provides the traditional savory flavor and browning capabilities, while the cornstarch ensures the coating doesn’t become “bread-like.” This ratio prevents the development of tough gluten, which is the primary reason homemade fried foods often feel heavy or chewy.
Step-by-Step: Achieving Restaurant-Quality Results
Achieving that perfect pile of golden strings requires a bit of finesse and attention to detail. It isn’t just about throwing onions in a pan; it’s about managing the transformation from a wet, raw vegetable to a dry, crispy delight. Follow these phases closely to ensure your batch is perfect every single time.
Phase 1: The Buttermilk Submersion
Start by soaking your thin onion slices in buttermilk for at least 15 to 30 minutes. You’ll notice the onions soften slightly as the buttermilk works on their cellular structure. Don’t try to rush this or skip it. This soak is your primary defense against the “naked onion” syndrome, where the coating falls off in the oil and leaves you with a mess. The buttermilk creates a tacky foundation that the flour mixture loves to cling to.
Phase 2: The Dredge and Shake Technique
When you’re ready to coat, use the “dry hand/wet hand” method. Use one hand to pull the onions from the buttermilk and the other to toss them in the flour mixture. This prevents your fingers from becoming covered in thick dough. Once coated, place the onions in a fine-mesh sieve and give them a vigorous shake. This “Strainer Secret” removes excess loose flour that would otherwise burn in your oil or create a gummy sludge on the onions.
Phase 3: Precision Frying at 375°F
Heat your oil to exactly 375°F. This is higher than the standard 350°F used for thick onion rings because these strings are so thin they need to crisp up before they overcook. Watch the bubbles! When you first drop the onions, the oil will bubble vigorously as moisture is released. Once the bubbling subsides and the onions reach a deep golden brown, you know the moisture is gone. This is your visual cue to pull them out immediately.
Critical Equipment for Frying Success
A heavy-bottomed pot, like a cast-iron Dutch oven, is your best friend for frying. These pots retain heat much better than thin stainless steel, which means the oil temperature won’t plummet when you add the onions. Maintaining a steady temperature is the only way to prevent the onions from absorbing excess grease.
You also need a reliable clip-on frying thermometer. Guessing the oil temperature is the fastest way to fail. Finally, invest in a “spider” skimmer. This wire tool allows you to lift the delicate strings out of the oil without breaking them, and it lets the oil drain away much more efficiently than a standard slotted spoon.
Avoiding Common Mistakes and Greasy Results
The most common mistake is crowding the pan. If you add too many onions at once, the oil temperature drops instantly, and the onions will steam each other instead of frying. This results in a clumped, greasy mess. Work in small batches, even if it takes a little longer. Your patience will be rewarded with individual, distinct crispy strands.
Another trap is the “Steam Trap.” Never drain your fried onions on a flat plate lined with paper towels. The bottom layer will sit in its own steam and turn soft within seconds. Instead, use a wire cooling rack set over paper towels. This allows air to circulate around the entire onion string, keeping the coating dry and crisp on all sides.
Flavor Variations and Seasoning Swaps
Once you master the base recipe, you can get creative with the flavors. For a “Smoky BBQ” version, swap the cayenne for a teaspoon of smoked paprika and a pinch of brown sugar in the dredge. If you want a “Spicy Cajun” profile, increase the cayenne and add dried oregano and thyme to the flour mixture.
For a high-end touch, try a “Truffle” version. Fry the onions as usual, but as soon as they come out of the oil, toss them with a light dusting of truffle salt and finely grated parmesan cheese. The heat from the onions will slightly melt the cheese, creating an incredibly decadent snack or topping for a steak.
Optimal Pairings for Crispy Fried Onion Strings
While these are famous on burgers, they are incredibly versatile. Try using them as a texture element on top of a perfectly seared ribeye or as a modern replacement for the canned onions in a green bean casserole. The fresh, homemade crunch elevates the dish from a side to a centerpiece.
They also make a fantastic garnish for creamy soups. A handful of these strings on top of a Roasted Tomato or Butternut Squash soup adds a necessary salty contrast to the sweetness of the vegetables. You can even serve them as a standalone appetizer with a side of creamy horseradish sauce or a spicy remoulade for dipping.
Storage and Reheating: Maintaining the Snap
Fried foods are always best eaten immediately, but you can save leftovers if you handle them correctly. Store them in an airtight container once they are completely cool. I like to toss a small paper towel into the container to absorb any residual humidity that might soften the coating over time.
When you’re ready to eat them again, stay away from the microwave! The microwave will turn them into rubber. Instead, spread them out on a baking sheet and pop them into a 350°F oven or an air fryer for 2 to 3 minutes. This quick blast of dry heat will re-crisp the coating and bring that “shattered-glass” texture back to life.
Expert Troubleshooting
Can I use a milk and lemon juice substitute for buttermilk?
You can certainly mix one cup of whole milk with one tablespoon of lemon juice or white vinegar and let it sit for five minutes. However, keep in mind that real buttermilk is much more viscous. The substitute will be thinner, so the flour dredge might not stick quite as thickly as it would with the real deal. If you use a substitute, give the onions an extra toss in the flour to ensure good coverage.
Why did my coating fall off in the oil?
This usually happens for two reasons: the onions weren’t wet enough when they hit the flour, or you didn’t let them sit long enough after dredging. Make sure the onions are fully submerged in the buttermilk. Also, after you toss them in the flour, let them sit for just a minute before frying. This allows the flour to hydrate and form a solid bond with the buttermilk glue.
Can I air fry this specific recipe?
This specific recipe is designed for traditional frying because it uses a wet-to-dry dredge. In an air fryer, the flour needs oil to “set.” If you try to air fry these as-is, you’ll likely end up with raw flour spots. To make them work in an air fryer, you would need to heavily spray the coated strings with oil mister before cooking, but the texture will never be quite as light and shattered as the deep-fried version.
What is the best oil for high-heat frying?
Vegetable oil is the standard choice because it has a high smoke point and a neutral flavor. However, peanut oil is the gold standard for frying because it can handle high heat exceptionally well and adds a very subtle richness. Grapeseed oil is another great high-heat option, though it is more expensive. Avoid olive oil or butter, as they will burn at the 375°F temperature required for this recipe.
Why are my onion strings dark brown but still soft?
This is a classic sign that your oil was too hot. If the oil is significantly above 375°F, the exterior of the coating burns before the moisture inside the onion has a chance to evaporate. Use a thermometer to stay in that 375°F sweet spot. If the oil is correct and they are still soft, you might be crowding the pan, which traps steam between the onions and prevents them from crisping up.
Crispy Fried Onion Strings
Course: AppetizerCuisine: AmericanDifficulty: easy4
servings15
minutes10
minutes320
kcal25
MinutesA foolproof method for creating ultra-thin, golden-brown onion strings that stay crunchy. The recipe utilizes a buttermilk soak for flavor and a cornstarch-flour blend for a light, shattered-glass texture.
Ingredients
2 large yellow onions, sliced paper-thin (use a mandoline for best results)
2 cups buttermilk
1 1/2 cups all-purpose flour
1/2 cup cornstarch (the secret for extra crunch)
1 teaspoon salt
1/2 teaspoon black pepper
1/2 teaspoon garlic powder
1/4 teaspoon cayenne pepper
1 quart vegetable oil for frying
Fresh parsley, chopped for garnish
Directions
- The most critical step to prevent sogginess is the soak. Place your paper-thin onion slices in a shallow dish and cover completely with buttermilk. Let them sit for at least 15 to 30 minutes. This mellows the raw onion bite and creates a sticky surface for the flour to bond to.
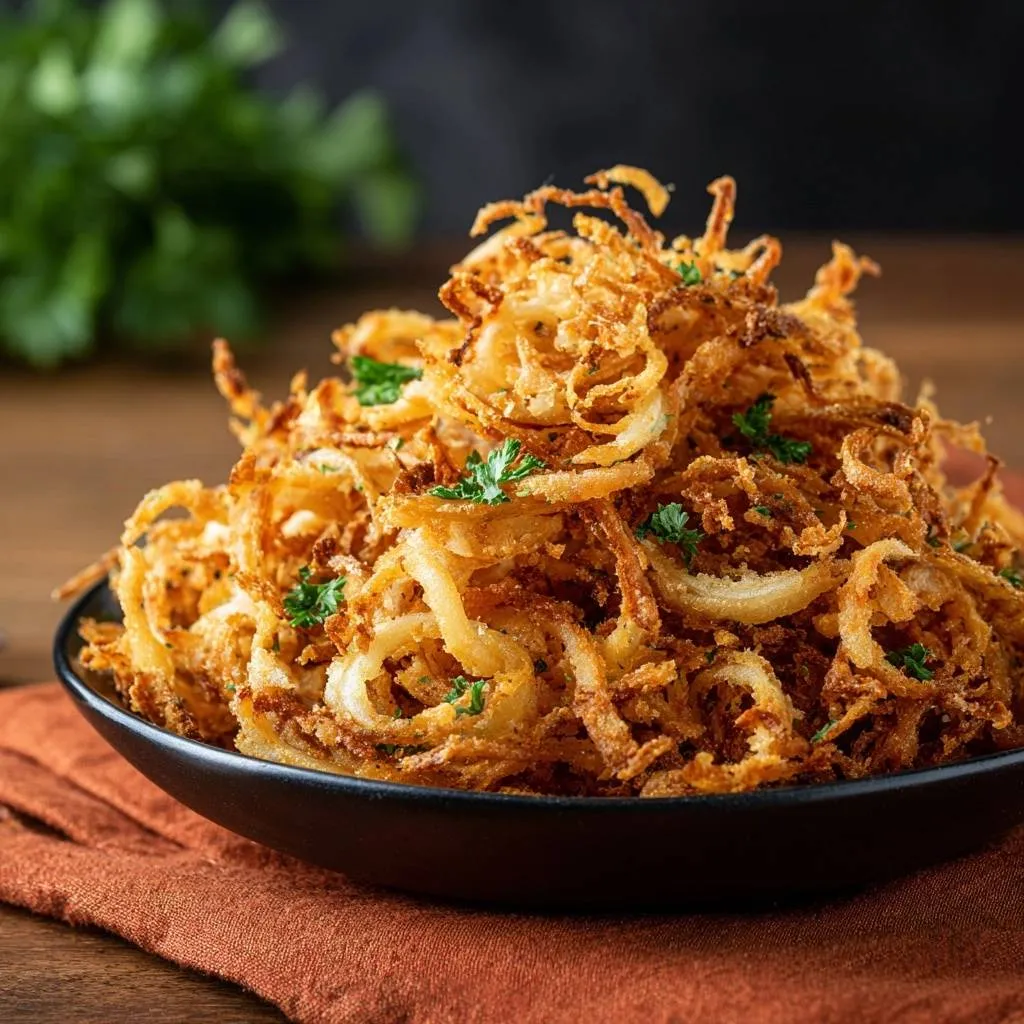
- In a separate wide bowl, whisk together the flour, cornstarch, salt, pepper, garlic powder, and cayenne. The cornstarch is essential for the light, shattered-glass texture seen in the image.
- Heat the vegetable oil in a heavy pot or Dutch oven to exactly 375°F (190°C). Using a thermometer is vital; if the oil temperature drops too low, the onions will absorb grease and become soggy.
- Working in small batches to avoid crowding, remove a handful of onions from the buttermilk, letting the excess liquid drip off. Toss them thoroughly in the flour mixture, ensuring every strand is separated and coated.
- Pro-Tip: Shake the coated onions in a fine-mesh strainer or colander before frying. This removes excess loose flour that would otherwise burn in the oil or create a gummy, thick coating.
- Carefully drop the onions into the hot oil. Use a fork to spread them out immediately so they don’t clump. Fry for 1 to 2 minutes, or until they reach a deep golden brown and the bubbling subsides (indicating moisture has been cooked out).
- Remove with a slotted spoon or spider skimmer and drain immediately on a wire cooling rack set over paper towels. Using a rack allows air to circulate around the strings, preventing them from steaming themselves soft.
- Garnish with a generous sprinkle of fresh chopped parsley and serve immediately while hot and crispy.
Notes
- Use a mandoline for paper-thin slices. Always use a thermometer to maintain oil at 375°F. Drain on a wire rack instead of just paper towels to prevent steaming and maintain crunch.