We’ve all been there. You spend time mixing up a batch of healthy snacks only to have them disintegrate into a pile of dry oats the moment you take a bite. It’s frustrating when a “quick snack” turns into a crumbly mess that requires a spoon to eat. The secret to a perfect, chewy snack that actually holds its shape isn’t just about the ingredients; it’s about the binder-to-dry ratio and a crucial chilling step.
This guide focuses on the structural integrity of no-bake snacks to ensure your Honey Almond Oat Energy Bites stay together. By understanding how the components interact, you can create a 155-calorie treat that is as sturdy as it is delicious. With only 15 minutes of active prep time, you’re looking at a professional-grade snack that beats any store-bought granola bar.
The real trick to success lies in the thermal activation of your binders. Most people try to mix cold or room-temperature honey and nut butter directly into dry oats, which only coats the surface. I’ve found that warming these ingredients first allows the “natural glue” to penetrate the oats, creating a bond that won’t snap when you’re on the go.
The Structural Science of Honey Almond Oat Energy Bites
Think of your energy bites as a tiny construction project. In this scenario, the oats and almonds are your “bricks,” and the honey and almond butter mixture acts as the “mortar.” If your mortar is too dry or too thin, the entire structure collapses. This recipe uses a specific ratio of 1/2 cup honey to 1.5 cups of oats to ensure the matrix is fully saturated.
When you use a high-bind finish, the honey doesn’t just add sweetness; it creates a glossy, tacky coating that fills the gaps between the larger oat flakes. Therefore, the viscosity of your binder is the most important factor in preventing the dreaded crumble. By increasing the honey slightly compared to standard recipes, we ensure every nook and cranny is filled with sticky goodness.
Why Rolled Oats Outperform Quick Oats
Rolled oats are the essential skeleton of this recipe because they provide a large surface area and a satisfying chew. Quick-cooking oats are processed into much smaller, thinner pieces that tend to absorb moisture too quickly. If you use quick oats, you often end up with a gummy, paste-like texture rather than a distinct, hearty bite.
Old-fashioned rolled oats maintain their shape even after being coated in warm honey. This structural strength is what allows the bites to feel substantial. In addition, the larger flakes create a more interesting mouthfeel that contrasts beautifully with the crunch of the sliced almonds.
The Role of Viscosity in Almond Butter
Not all almond butters behave the same way in the kitchen. If you use a “no-stir” variety, it often contains palm oil which stays firm at room temperature. However, natural almond butter—the kind where the oil sits on top—provides a much better emulsion when mixed with honey. The natural oils interact with the sugars in the honey to create a smooth, shelf-stable binder.
When you heat the almond butter, those oils become more fluid, allowing them to wrap around the flax or chia seeds. This ensures that the nutritional “superfoods” are evenly distributed throughout the batch. Once the mixture cools, the almond butter firms back up, locking the oats into a dense, delicious sphere.
Essential Components for Texture and Nutrition
Quality ingredients lead to a quality snack, especially when there’s no baking involved to hide imperfections. Raw honey is my top choice here because it has a thicker, more floral profile than processed clover honey. That thickness is vital for the “no-crumble” promise because it acts as a heavy-duty adhesive.
Using creamy almond butter ensures a smooth distribution of flavor, but don’t skip the sea salt. A quarter teaspoon might seem small, but it’s the key to cutting through the richness of the honey. Without it, the bites can taste one-dimensional and overly sweet.
For a satisfying crunch that holds up, explore the sea salt almond chocolate bark.
Selecting the Right Almonds for Crunch
I highly recommend using sliced almonds rather than whole or roughly chopped ones. Sliced almonds have a “shingle” effect; they lay flat against the oats and help knit the mixture together. Large chunks of whole almonds can actually create “cleavage planes,” which are weak spots where the bite is likely to split in half.
For more chewy oat bar ideas, check out this foolproof no-crumble recipe.
If you want that professional bakery look, save a few extra slices to press into the outside of the balls after rolling. This adds a visual cue of what’s inside and provides an extra layer of toasted flavor. It’s a small detail that makes a huge difference in the final presentation.
Superfood Additions: Flax vs. Chia Seeds
Both flax and chia seeds add a nutritional punch, but they also serve a functional purpose. Chia seeds are hydrophilic, meaning they love to soak up moisture. If your honey mixture is a bit too runny, the chia seeds will absorb that excess liquid and help stabilize the bite. Flax seeds, on the other hand, offer a warm, nutty flavor that complements the almond butter perfectly.
You can certainly use a mix of both to get the best of both worlds. Just make sure you’re using ground flaxseed (flax meal) if you want the most nutritional benefit, as whole flaxseeds can be hard to digest. These tiny seeds act like “micro-binders” that fill the smallest spaces between the oats.
Step-by-Step: Achieving the Perfect Bind
Success with this recipe comes down to the process. You aren’t just tossing things in a bowl; you’re carefully managing temperatures and textures. Follow these phases to ensure your energy bites are sturdy enough for a lunchbox but soft enough to enjoy.
Phase 1: The Thermal Activation Step
The most common mistake is skipping the microwave. By heating the honey and almond butter for just 20 to 30 seconds, you lower the viscosity of the liquids. This makes the mixture fluid enough to coat the microscopic crevices of the oats. If the binder is cold, it just sits on the surface like a thick glob, leading to those dry patches that cause crumbling.
You’ll know it’s ready when the mixture is easy to stir and looks like a smooth, pourable syrup. Don’t let it boil! You just want it warm to the touch. This simple step is the single most important factor in the “No-Crumble Method.”
Phase 2: Integrating Dry and Wet Ingredients
Once you pour that warm gold over your dry ingredients, it’s time to get to work. Use a sturdy spatula and stir vigorously. You aren’t just folding; you’re pressing the liquid into the oats. Look for a glossy sheen across the entire mixture.
If you see any white, dusty patches of oats, keep stirring. The mixture should look wet and very sticky. If it still looks “shaggy” or dry after a minute of mixing, don’t be afraid to add one extra tablespoon of honey. Every brand of oats absorbs moisture differently, so trust your eyes over the measurements.
Phase 3: The Mandatory Hydration Chill
I cannot stress this enough: do not skip the 30-minute refrigerator rest. This isn’t just about cooling the mixture down so it’s easier to handle. This is the “hydration phase” where the oats actually soften and absorb the moisture from the honey. It’s a molecular change that turns a loose pile of ingredients into a cohesive dough.
During this time, the honey also begins to “set” back into its thicker state. If you try to roll the balls while the mixture is still warm, they will slump and lose their shape. Patience here pays off with a much denser, more professional texture.
Precision Shaping and Professional Presentation
When the 30 minutes are up, the mixture should feel tacky and firm. To get uniform bites, use a small cookie scoop to portion the dough. This ensures every snack is the same size, which is great for calorie tracking and even better for stacking them in a container.
When rolling, apply firm pressure with your palms. You want to compress the ingredients to evacuate any air pockets. Think of it like making a snowball; the more you compress it, the less likely it is to fall apart. If the mixture sticks to your hands, just lightly dampen your palms with a tiny bit of water.
The Finishing Drizzle and Garnish
For that high-end look, stack your finished bites and drizzle them with a tiny bit of extra warm honey. This creates a beautiful, glossy finish that makes them look like they came from a boutique cafe. Pressing a few extra almond slices into the surface adds that final touch of artisanal flair.
Keep in mind that the drizzle is optional. If you’re packing these for a hike or a kid’s lunch, you might want to skip the extra honey on the outside to keep things less sticky. However, for a platter at home, it’s a total showstopper.
Flavor Variations and Ingredient Swaps
While the honey-almond combo is a classic, you can easily adapt this recipe to what you have in your pantry. The key is to maintain the same volume of wet-to-dry ingredients so the structural integrity remains intact.
More Sweet & Nutty Ideas
Since you enjoyed these honey almond oat energy bites, explore more satisfying baked goods.
- For a chewy treat with a similar almond flavor, consider the Chewy Almond Caramel Bars.
- If you like oats in your sweets, you might also appreciate the texture and flavor of this Perfectly Creamy Oatmeal.
Nut-Free Alternatives
If you need a nut-free version, sunflower seed butter is an excellent 1:1 replacement for almond butter. It has a similar creamy consistency and a lovely toasted flavor. You can also use tahini, though it has a much stronger, slightly bitter profile. If you go the tahini route, I suggest adding an extra splash of vanilla or a pinch of cinnamon to balance the earthiness.
Replace the sliced almonds with pumpkin seeds (pepitas) or sunflower seeds to keep that crunch. These seeds are smaller, so they actually bind even more easily than almond slices do.
Natural Sweetener Substitutes
If you prefer maple syrup over honey, you’ll need to make a slight adjustment. Maple syrup is thinner than honey, so the “glue” isn’t quite as strong. To compensate, add an extra 1/4 cup of oats or increase the chilling time to a full hour. This gives the oats more time to soak up the thinner liquid and firm up.
Brown rice syrup is another great option. It’s incredibly thick and sticky—even more so than honey—making it a fantastic binder for those who want an extra-sturdy snack. It has a milder sweetness, which allows the almond flavor to really shine through.
Troubleshooting Common Texture Issues
Even with the best instructions, sometimes things go sideways. If your bites aren’t turning out perfectly, it’s usually a quick fix. Most issues stem from the moisture balance or the temperature of the ingredients during the mixing phase.
Fixing a Mixture That Is Too Dry
If your mixture looks “shaggy” and won’t hold together when you squeeze a handful, it’s too dry. This often happens if your oats were particularly thirsty or if your almond butter was the dry, bottom-of-the-jar sort. Add warm honey one teaspoon at a time, mixing thoroughly after each addition.
Be careful not to overdo it! If you add too much liquid, the bites will “slump” and become flat discs rather than round balls. You want just enough honey to make the oats look glossy and feel tacky to the touch.
Managing Sticky Hands During Rolling
If the honey is sticking to you more than the oats, use the “Damp Hand Technique.” Keep a small bowl of water nearby and lightly dip your fingers in it before rolling each ball. That microscopic layer of moisture prevents the honey from adhering to your skin.
Don’t soak your hands, as too much water will make the bites soggy. Just a hint of dampness is all you need to create a smooth, non-stick surface. This makes the rolling process much faster and a lot less messy.
Storage Logistics and Longevity
Because these bites rely on honey and nut butter, they are thermally sensitive. This means they will be soft at room temperature and firm when cold. For the best experience, I always recommend eating them straight from the fridge.
Refrigeration vs. Room Temperature
Store your energy bites in an airtight container in the refrigerator for up to one week. The cold environment keeps the honey in its “set” state, ensuring the bites maintain their perfect, dense structure. If you leave them on the counter on a hot day, they may become a bit too soft and lose that signature chew.
When choosing a container, make sure it has a tight seal. Oats are like sponges and can absorb “fridge smells” if they aren’t protected. A glass jar or a high-quality plastic container works perfectly to keep them tasting fresh.
Freezing for Long-Term Meal Prep
These bites freeze beautifully, making them a dream for meal prepping. To prevent them from fusing into one giant mass, flash-freeze them first. Place the bites on a parchment-lined tray in the freezer for about an hour until they are hard. Once they’re frozen individually, you can toss them all into a freezer bag.
They will stay fresh in the freezer for up to three months. When you’re ready for a snack, just pull one out; they thaw in about 10 to 15 minutes at room temperature, or you can eat them cold for a firmer, fudge-like texture.
Expert Tips for Batch Prepping
If you have a big family or a busy week ahead, doubling or tripling this recipe is a smart move. When making a large batch, the manual stirring can get a bit tough on the arms. You can actually use a stand mixer with a paddle attachment on the lowest speed to get the job done.
The paddle attachment is great for ensuring the honey-almond butter emulsion is perfectly distributed without crushing the oats. Just keep a close eye on it and stop as soon as the mixture looks glossy. Once mixed, you can scoop the whole batch onto a large sheet pan to chill before rolling.
Frequently Asked Questions
Can I use steel-cut oats for this recipe?
No, steel-cut oats are much too hard and dense for a no-bake recipe. They require simmering in liquid to become edible. If you use them here, you’ll end up with a very crunchy, unpleasant texture that could potentially hurt your teeth. Stick to old-fashioned rolled oats for the best results.
Why are my energy bites falling apart even after chilling?
This usually happens if the warming step was skipped or if the binder-to-dry ratio was off. If the honey wasn’t warmed, it couldn’t penetrate the oats to create a bond. Additionally, if you added too many “extras” like extra seeds or nuts without increasing the honey, there wasn’t enough “glue” to hold the extra weight.
Can I add protein powder to these bites?
Yes, you can add protein powder, but you must adjust the liquids. Protein powder is very drying and acts like flour. If you add a scoop of protein powder, you will likely need to add an extra 2 tablespoons of honey and 1 tablespoon of almond butter to compensate for the extra dry volume.
How long do these stay fresh?
In the refrigerator, these bites stay fresh and delicious for up to 7 days. In the freezer, they can last for up to 3 months. Always keep them in an airtight container to prevent them from drying out or absorbing other flavors from the fridge.
Is the sea salt really necessary?
Absolutely. Salt is a flavor enhancer that balances the heavy sugar profile of the honey and the richness of the almond butter. Without it, the bites can taste flat. A small amount of high-quality sea salt makes the almond flavor pop and prevents the snack from being cloyingly sweet.

Energy Bites
Course: SnackCuisine: AmericanDifficulty: easy12
bites15
minutes155
kcal45
MinutesA healthy and delicious snack made with rolled oats, almond butter, and honey. These energy bites are specifically designed to hold their shape using a warm binder technique and a mandatory chilling period for the perfect texture.
Ingredients
1 1/2 cups old fashioned rolled oats
1/2 cup sliced almonds (plus extra for garnish)
1/2 cup creamy almond butter
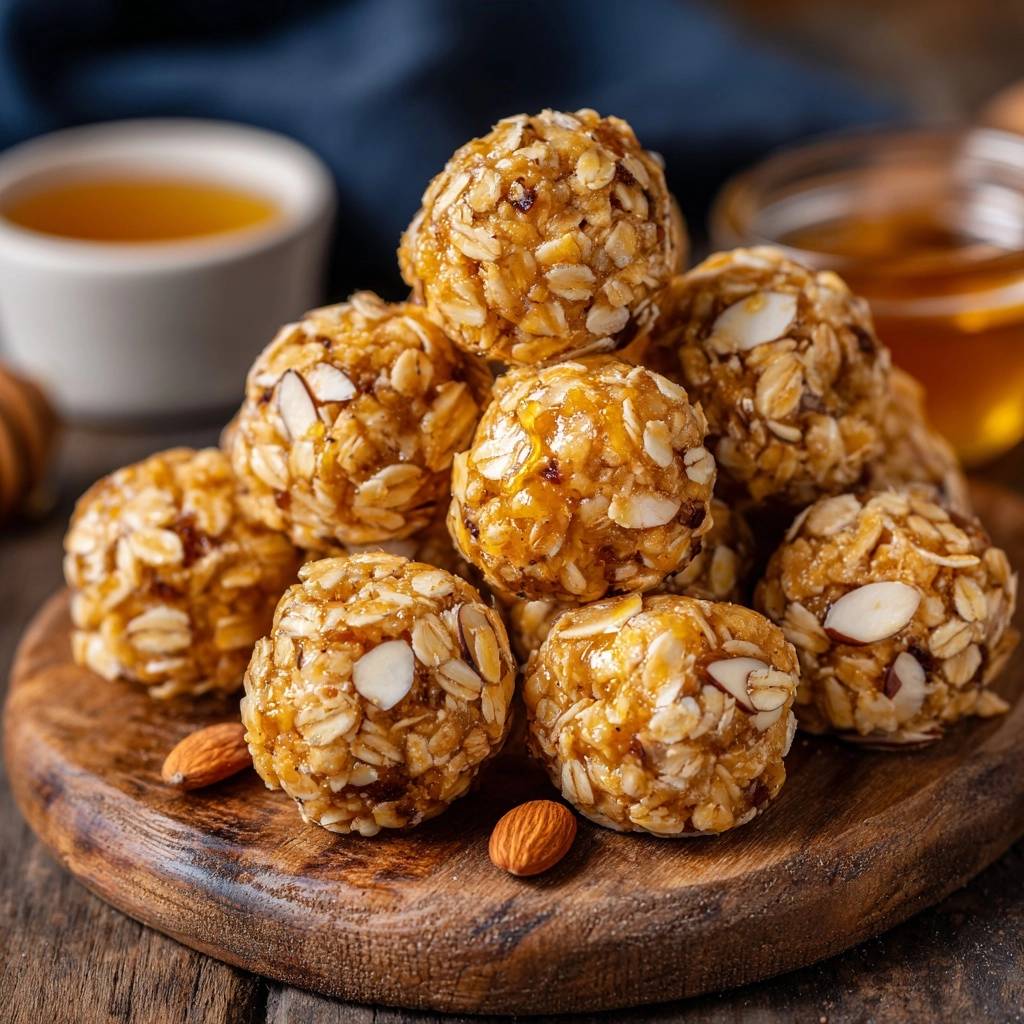
1/2 cup raw honey (increased for the glossy, high-bind finish shown in image)
1 teaspoon vanilla extract
1/4 teaspoon sea salt
2 tablespoons flax seeds or chia seeds
Optional: 1 tablespoon warm honey for drizzling
Directions
- To solve the crumbling issue, start by placing the honey and almond butter in a small microwave-safe bowl. Heat for 20 to 30 seconds until the mixture is fluid and easy to stir. This is the key step that allows the binder to penetrate the dry oats rather than just sitting on top.
- In a large mixing bowl, combine the rolled oats, sliced almonds, sea salt, and seeds.
- Pour the warm honey and almond butter mixture over the dry ingredients. Add the vanilla extract.
- Stir vigorously with a sturdy spatula until the mixture is very sticky and no dry oat patches remain. The mixture should look glossy and wet; if it appears dry, add one extra tablespoon of honey.
- Place the entire bowl in the refrigerator for at least 30 minutes. This chilling period is mandatory because it allows the oats to hydrate and the honey to thicken, which prevents the bites from falling apart later.
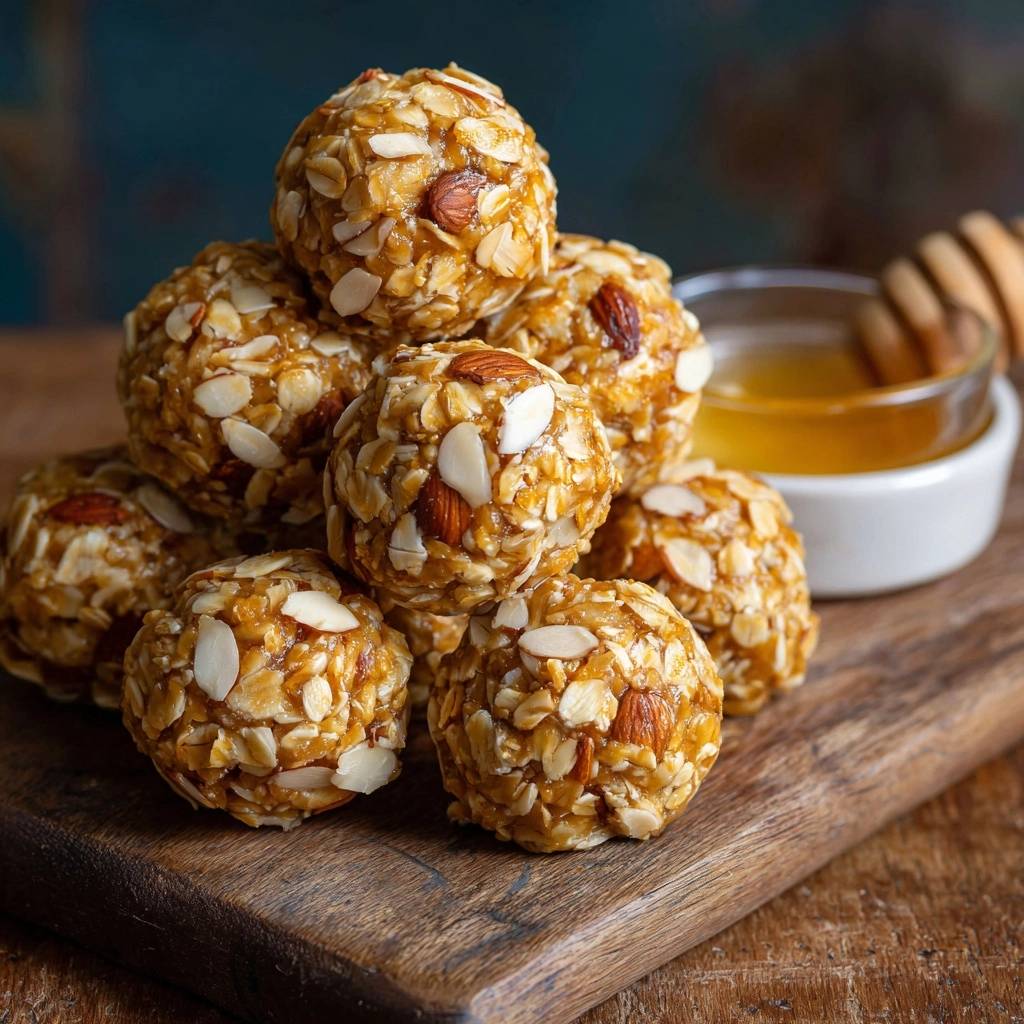
- Once chilled, use a cookie scoop or tablespoon to portion the mixture. Roll firmly between your palms to compress the ingredients into tight, dense balls. If desired, press a few extra almond slices into the surface of each ball to match the visual presentation.
- For the professional finish seen in the image, lightly drizzle the stacked bites with a tiny amount of warm honey.
- Store in an airtight container in the refrigerator for up to one week. Keeping them cold ensures they maintain their perfect, bite-sized structure.
Notes
- The secret to preventing crumbling is heating the honey and almond butter before mixing and ensuring a 30 minute refrigeration period before rolling. Store in the refrigerator to maintain structure.