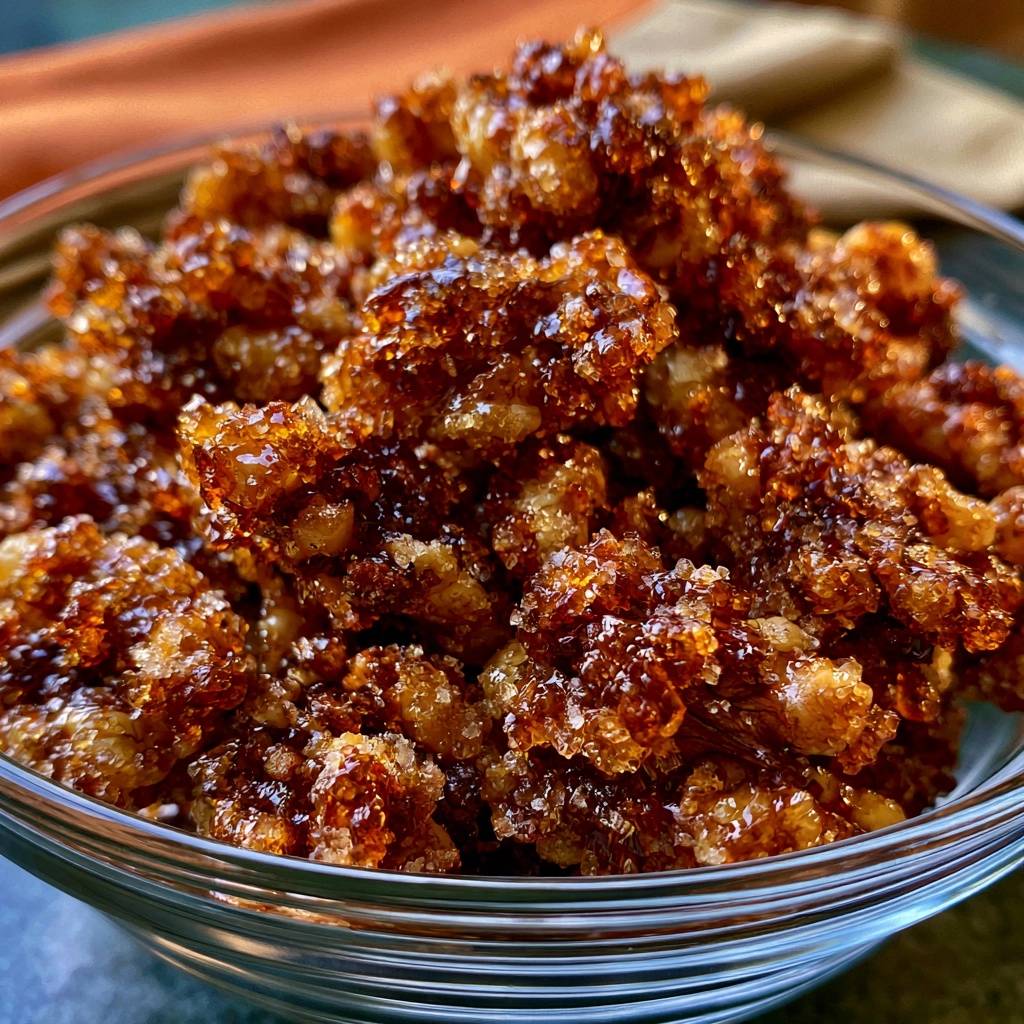
Imagine a walnut encased in a thick, mahogany-colored shell that shatters like glass when you bite into it. We aren’t talking about those thin, sticky glazes that leave your fingers tacky and the nuts soft. This recipe focuses on a rugged, crystalline topography that creates a massive crunch and a deep, toasted sugar flavor.
The secret lies in a specific re-crystallization technique that most home cooks avoid because it looks like a mistake halfway through. However, by pushing the sugar past the sandy stage and back into a molten state, you achieve a professional, candy-shop finish. It’s the ultimate texture for anyone who finds standard glazed nuts a bit too wimpy.
To get this right, you have to trust the process when the sugar turns white and dry in the pan. That dry coating is exactly what builds the thick crust. If you keep stirring, that “sand” melts into a craggy, amber armor that stays crisp for weeks.
The Physics of the Crystal-Crust Technique
Creating a glass-like coating involves a fascinating chemical transition. Initially, you dissolve the sugar into a syrup, but as the water evaporates, the sugar molecules crowd together and crystallize. This creates a white, opaque coating on the walnuts that looks completely dry.
Most people panic at the sandy stage and pull the pan off the heat, thinking they’ve ruined the batch. In reality, this is where the magic starts. As you continue to apply heat, those sugar crystals melt again, turning into a dark, complex caramel that clings to the nuts in thick ridges.
This double-melt process ensures the coating is dense and structural rather than just a thin film. Because the sugar has been fully cooked and re-hardened, it resists moisture from the air. This prevents the walnuts from becoming sticky or weeping, even if you live in a humid climate.
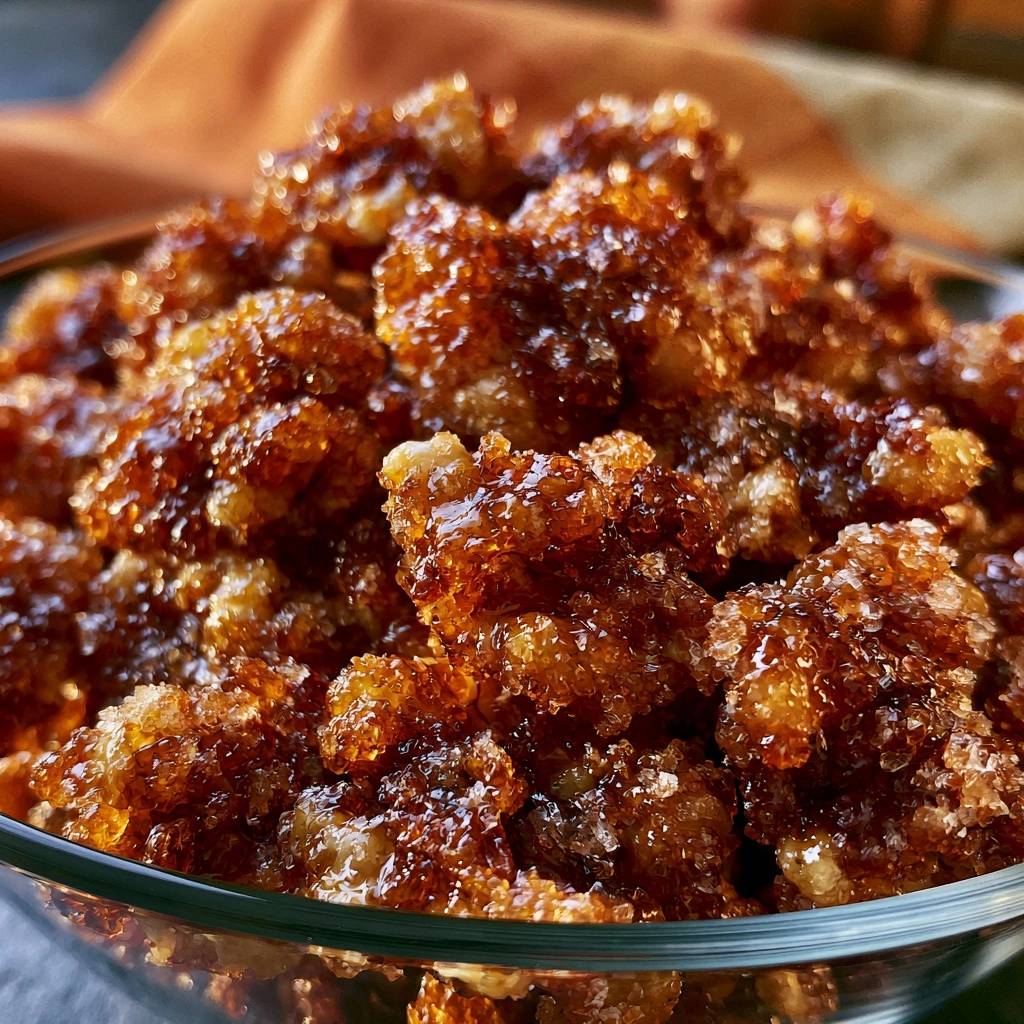
Essential Components for Ultra-Crunchy Amber Glazed Walnuts
Granulated white sugar is the hero here because it crystallizes more reliably than brown sugar. While brown sugar offers a deep molasses flavor, its moisture content makes it harder to achieve that specific “shatter” texture. White sugar allows for a cleaner, more predictable amber transition.
Raw walnut halves are essential because they undergo a secondary toasting while the sugar melts. If you start with pre-toasted nuts, the centers will likely taste burnt by the time the glaze reaches the proper mahogany hue. The raw nuts stay buttery and mild inside their sweet shell.
Don’t skip the sea salt, as it provides a necessary contrast to the high sugar-to-nut ratio. The salt crystals get trapped within the amber layers, providing little pops of savory flavor that keep the snack from feeling cloying. It balances the intensity of the cooked sugar perfectly.
Selecting the Right Walnut Grade
Always reach for walnut halves rather than pieces when you want a dramatic, crunchy crust. The large, curved surface area of a half provides more “real estate” for the sugar to cling to. Pieces tend to clump together into unmanageable clusters that lack that signature snap.
Check your walnuts for freshness before you start cooking. Walnuts have a high oil content and can go rancid quickly if stored in a warm pantry. Give them a quick sniff; they should smell mildly nutty and sweet, not like paint or old oil.
The Role of Heat-Stable Aromatics
Cinnamon adds a warm, woody base that complements the bitterness of the walnut skin. It gets stirred into the syrup early so the flavor can penetrate the nooks and crannies of the nut. It acts as a flavor bridge between the sugar and the earthiness of the walnut.
Vanilla extract is a delicate aromatic that can lose its punch if exposed to high heat for too long. That’s why you stir it in at the very end, just as the sugar reaches its final amber color. The sudden sizzle traps the vanilla scent inside the hardening shell before it can evaporate.
Required Tools for High-Heat Sugar Work
A large non-stick skillet is your best friend for this recipe. Sugar is incredibly sticky as it transitions between states, and a non-stick surface allows you to keep the nuts moving without leaving half the glaze stuck to the pan. It also makes cleanup significantly easier.
Avoid thin stainless steel pans, which often develop hot spots that can scorch the sugar in seconds. You need even heat distribution to ensure every walnut reaches the amber stage at the same time. A heavy-bottomed pan provides the thermal mass needed for a steady melt.
Parchment paper is non-negotiable for the cooling phase. If you pour molten sugar onto a plate or a silicone mat, it can sometimes retain heat too long or stick. Parchment allows the nuts to cool rapidly, which is the key to achieving that brittle, glass-like snap.
Phase One: Dissolving and The Initial Melt
Start by combining your sugar, water, and spices in the skillet over medium heat. You’ll see the mixture transform from a grainy paste into a clear, bubbling syrup. This stage is all about ensuring the sugar is fully hydrated before the intense cooking begins.
Watch for the bubbles to become uniform across the surface of the pan. You aren’t looking for color yet, just a steady, vigorous simmer. Once the syrup is clear and active, it’s time to introduce the walnuts to their sweet bath.
Phase Two: Achieving the Sandy Recrystallization
As you stir the walnuts in the syrup, the water will slowly steam off. After about five minutes, you’ll notice a dramatic change. The syrup will suddenly turn into a dry, white, sandy powder that coats every inch of the nuts.
This is the “ugly phase” of the recipe, but it’s vital for the final texture. Keep stirring constantly to ensure the sugar is evenly distributed. You want every crevice of the walnut brain filled with this dry sugar so it can eventually melt into a thick crust.
Phase Three: Developing the Deep Amber Glaze
Keep the heat steady and keep those nuts moving. Soon, the white powder will begin to liquefy again, turning a pale gold and then a deep, dark mahogany. This is the re-caramelization process that creates the “crystal-crust.”
Aim for the 80% rule: you want most of the sugar to be melted and shiny, but leaving a few tiny crystalline clumps adds to the rugged texture. Be careful here, as the jump from perfect amber to burnt and bitter happens in a matter of seconds.
Phase Four: The Shatter-Crisp Cooling Process
Once the glaze is dark and glossy, immediately dump the walnuts onto your parchment paper. Work quickly because the sugar begins to set the moment it leaves the heat. Use two forks to pull the nuts apart so they don’t cool in one giant brick.
Let them sit undisturbed for at least 20 minutes. As the temperature drops, the sugar molecules lock into a rigid, brittle structure. You’ll know they’re ready when you tap two nuts together and they make a sharp, metallic “clink” sound.
Troubleshooting Common Glazing Obstacles
If your sugar stays sandy and refuses to melt back down, your heat is likely too low. Increase the flame slightly, but stay vigilant. Sugar needs a specific temperature to caramelize, and a weak burner might keep it stuck in the “sand” phase indefinitely.
If the nuts start to smell like they are burning before the sugar turns dark, your heat is too high. Move the pan off the burner for thirty seconds while stirring rapidly to drop the temperature, then return it to a lower setting to finish the melt.
Flavor Profiles and Spice Variations
While cinnamon is the classic choice, you can easily customize the flavor profile. A pinch of cayenne pepper added to the initial syrup creates a “Heat-Sync” version that balances the sugar with a slow, creeping burn. The sugar crust helps mellow the spice.
For a more savory twist, try adding a teaspoon of smoked paprika. This “Smoky Amber” variation pairs beautifully with the natural tannins in the walnut skins. Just ensure you keep the sugar and water ratios the same to protect the integrity of the crust.
Optimal Storage to Prevent Sugar Softening
Humidity is the enemy of caramelized sugar. If left out in the open, the sugar will pull moisture from the air and become sticky. Always wait until the nuts are stone-cold before placing them in an airtight glass jar or container.
Never store these in the refrigerator. The cold environment is surprisingly humid, and the condensation that forms when you take the jar out will dissolve your hard-earned crust. Keep them in a cool, dark pantry for the best shelf life.
Creative Applications for Amber Glazed Walnuts
These walnuts are fantastic on their own, but they also serve as a structural element in complex dishes. Try crushing a few and sprinkling them over a salad with soft goat cheese. The contrast between the creamy cheese and the shatter-crisp nut is incredible.
They also make a sophisticated garnish for roasted root vegetables like carrots or sweet potatoes. The deep caramel notes of the walnuts enhance the natural sugars in the vegetables. For dessert, use them to add a crunch to silken chocolate pudding or vanilla bean ice cream.
Expert Tips for Large Batch Gifting
If you plan on making these as gifts, resist the urge to double the recipe in one pan. The sugar needs plenty of surface area to melt and re-crystallize properly. A crowded pan leads to uneven melting and soggy spots; it’s better to make two separate batches.
For packaging, use clear cellophane bags or glass jars to show off the glass-like quality of the glaze. The deep mahogany color looks beautiful against a simple ribbon. Because these stay crunchy for a long time, they are the perfect make-ahead gift for the holidays.
Frequently Asked Questions
Why did my sugar stay sandy and never turn amber?
This usually happens when the stovetop heat is too low. Sugar has a specific melting point, and if the pan doesn’t reach that threshold, the sugar will stay in its crystallized “sandy” state. Try turning the heat up to a true medium and keep stirring; the friction and heat will eventually force the melt.
Can I use this method for pecans or almonds?
Yes, this technique works for most nuts, but walnuts are the gold standard for it. The deep ridges and nooks in a walnut half act like little anchors for the thick sugar crust. Pecans work very well too, but smoother nuts like almonds will have a slightly thinner coating because there is less surface texture for the sugar to grip.
How do I clean the hardened sugar off my skillet?
Don’t scrub the pan, as you might damage the non-stick coating. Instead, fill the skillet with water and bring it to a boil on the stove. The hot water will dissolve the hardened caramel in a matter of minutes. Once the sugar has turned back into liquid, you can simply pour it out and wash the pan with a soft sponge.
Why are my walnuts sticky the next day?
Stickiness is usually caused by one of two things: under-cooking the sugar or improper storage. If the sugar didn’t reach a deep enough amber, it hasn’t fully cooked into a hard-crack stage. Additionally, if you put the nuts into a container while they were still slightly warm, the trapped steam will soften the sugar and make it tacky.
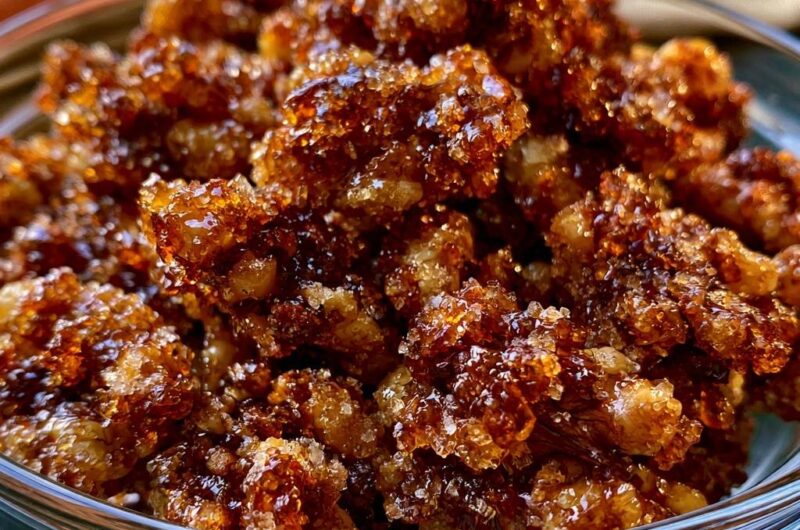
Ultra-Crunchy Amber Glazed Walnuts
Course: SnackCuisine: AmericanDifficulty: easy8
servings5
minutes12
minutes17
Minutes240
kcalAmerican
Ingredients
2 cups raw walnut halves
3/4 cup granulated sugar (increased for the thick visual crust)
1/2 teaspoon sea salt
1 teaspoon ground cinnamon
1/2 teaspoon vanilla extract
3 tablespoons water
Directions
- The Initial Melt: Place a large non-stick skillet over medium heat. Add the sugar, water, cinnamon, and salt. Stir until the sugar dissolves and begins to bubble into a clear syrup.
- The Toasting Phase: Add the walnuts to the bubbling syrup. Stir constantly to coat. Continue cooking for 5-7 minutes. The water will evaporate, and the sugar will begin to look “sandy” and dry, clinging to the nuts in a white, opaque layer.
- The Amber Glaze: Do not stop stirring. Keep the heat at medium. The sandy sugar will begin to melt again (re-caramelize). This creates the deep mahogany color and the thick, craggy texture seen in the image.
- The Finish: Once about 80% of the sugar has turned into a shiny, dark amber liquid but some crystalline “clumps” remain (providing that specific visual texture), stir in the vanilla extract. The mixture will bubble vigorously.
- The Set: Immediately transfer the walnuts onto a sheet of parchment paper. Do not crowd them. Use two forks to separate the nuts quickly.
- Cooling: Let the walnuts cool completely for at least 20 minutes. As the temperature drops, the sugar transition from a molten state to a “shatter-crisp” shell. Store in an airtight container only once stone-cold to maintain the anti-soggy glaze.
Notes
- Store in an airtight container only once stone-cold to maintain the anti-soggy glaze and ensure the coating remains crunchy.