I remember struggling to achieve that ideal soft, chewy texture with oatmeal cookies; they often turned out disappointingly hard or dry. After years of perfecting, I’ve cracked the code for truly exceptional Chewy Oatmeal Chocolate Sandwich Cookies.
This recipe guarantees beautifully tender cookies with an irresistible, rich chocolate filling, making them a consistently perfect homemade treat every single time. Get ready for a delicious journey that evokes pure comfort and joy with every bite.
For more gooey chocolate goodness, check out our molten lava chocolate chip cookie pie.
Beyond Basic: Why This Recipe is Your New Go-To Oatmeal Cookie
This recipe transforms a classic into an extraordinary experience, directly addressing common baking frustrations.
It reliably delivers a soft, chewy texture that many oatmeal cookies lack, ensuring no more dry or crumbly results. We’ve focused on specific ingredient ratios and baking techniques to achieve this.
For more ideas on achieving that perfect chew, explore frosted dark chocolate toffee cookies.
The cookies are effortlessly perfect every time, building confidence even for novice bakers. The detailed instructions guide you through each step for consistent success.
A luscious, rich chocolate filling elevates these from simple oatmeal cookies to a truly decadent dessert. This indulgent filling perfectly complements the hearty, wholesome cookie base.

Gathering Your Baking Arsenal: Essential Equipment
- Stand Mixer (or Hand Mixer): Crucial for creaming butter and sugar until light and fluffy, ensuring optimal cookie texture.
- Large and Medium Mixing Bowls: For combining wet and dry ingredients separately before mixing.
- Measuring Cups and Spoons: Essential for precise ingredient quantities, vital for baking success.
- Rubber Spatula: Ideal for scraping down bowls and gently folding in oats without overmixing.
- Baking Sheets: Provides the surface for baking your delicious cookies evenly.
- Parchment Paper: Prevents cookies from sticking and makes cleanup a breeze.
- Wire Cooling Rack: Allows air circulation, ensuring cookies cool properly and evenly.
- Whisk: For thoroughly combining dry ingredients, preventing lumps and ensuring even leavening.
The Heart of the Cookie: Unveiling Key Ingredients
Building the Chewy Cookie Base
Unsalted Butter, Softened: Provides richness and structure to the cookies. Softened butter creams beautifully with sugars, incorporating air for a light texture.
Packed Light Brown Sugar: The secret to that signature chewy texture, thanks to its molasses content which adds moisture and depth of flavor. Packing it ensures correct measurement.
Granulated Sugar: Contributes to crisp edges and the overall sweetness of the cookie, balancing the richness of the brown sugar.
Large Eggs: Act as a binder, provide moisture, and help with the leavening process, ensuring a cohesive and tender dough.
Vanilla Extract: Enhances all the other flavors, adding a warm, aromatic depth that is quintessential for oatmeal cookies.
All-Purpose Flour: The primary structural component of the cookie. Ensure it’s measured correctly for the right consistency.
Baking Soda: A leavening agent that helps the cookies rise slightly and spread, contributing to their soft texture.
Salt: Balances the sweetness and amplifies the overall flavor profile of the cookies. Don’t skip this!
Ground Cinnamon: Adds a warm, comforting spice note that perfectly complements the oats and chocolate.
Old-Fashioned Rolled Oats: Provide the hearty, chewy texture that defines these cookies. Their structure holds up well without becoming mushy.
Crafting the Rich Chocolate Filling
Unsalted Butter, Softened: Creates the creamy, spreadable base for the filling, ensuring a smooth and luxurious texture.
Powdered Sugar: Ensures a silky-smooth, lump-free filling that’s easy to spread between the cookie halves. It also provides the bulk of the sweetness.
Unsweetened Cocoa Powder: Delivers a deep, authentic chocolate flavor, balancing the filling’s sweetness and creating a rich taste.
Milk: Thins the filling to a perfect, spreadable consistency, making it smooth and easy to work with.
Vanilla Extract: Deepens the chocolate flavor and adds an extra layer of warmth and aroma to the filling.
Pinch of Salt: A small amount of salt enhances the chocolate flavor, preventing the filling from tasting overly sweet.
Baking Success: A Step-by-Step Journey to Perfect Sandwich Cookies
Preparing for a Smooth Bake
- Preheat and Prep:
Preheat your oven to 375 degrees F (190 degrees C). This ensures the oven is at the correct temperature for even baking.
Line baking sheets with parchment paper to prevent sticking and for easy cleanup, allowing the cookies to release effortlessly.
Mixing the Cookie Dough: The Secret to Texture
- Cream Together Wet Ingredients:
In a large bowl, cream together the softened unsalted butter, packed light brown sugar, and granulated sugar until the mixture is light and fluffy, about 2-3 minutes. This crucial step incorporates air, contributing significantly to the cookies’ incredibly soft, chewy texture.
- Incorporate Eggs and Vanilla:
Beat in the large eggs one at a time, ensuring each is fully incorporated before adding the next. Then, stir in the vanilla extract until well combined. This emulsifies the mixture, creating a stable and uniform dough.
- Whisk Dry Ingredients:
In a separate medium bowl, whisk together the all-purpose flour, baking soda, salt, and ground cinnamon. Whisking ensures these dry ingredients are evenly distributed, which is vital for consistent leavening and flavor in every cookie.
- Combine and Avoid Overmixing:
Gradually add the dry ingredients to the wet ingredients, mixing on low speed just until combined. Be careful to avoid overmixing, as this can develop gluten, leading to tougher, less tender cookies.
- Stir in Oats:
Gently stir in the old-fashioned rolled oats until they are evenly distributed throughout the dough. Ensure all the oats are coated but take care not to overwork the dough at this stage.
The Golden Rule of Baking: Achieving the Perfect Chew
- Drop and Space Dough:
Drop rounded tablespoons of dough onto the prepared baking sheets, spacing them about 2 inches apart. This allows the cookies ample room to spread evenly without touching each other during baking.
- Bake to Perfection (Do NOT Overbake!):
Bake for 8 to 10 minutes, or until the edges are lightly golden and the centers still look slightly soft and glossy. This is the critical step for chewiness: pulling them out while the centers are still slightly underbaked prevents them from becoming hard or dry. The cookies will continue to firm up as they cool on the hot baking sheet.
- Cool Completely:
Let the cookies cool on the baking sheets for 5 minutes to set before transferring them to a wire rack to cool completely. They must be entirely cool before filling to prevent the chocolate filling from melting and creating a mess.
Creating the Dreamy Chocolate Filling
- Cream Butter for Filling:
To make the chocolate filling, in a medium bowl, beat the softened unsalted butter until it is creamy and smooth, about 1-2 minutes. This creates a light and airy base for the frosting.
- Mix in Dry Ingredients and Milk:
Gradually add the powdered sugar and unsweetened cocoa powder, alternating with the milk, beating until the mixture is smooth and fluffy. This prevents lumps and ensures a consistent, velvety texture.
Add the vanilla extract and a pinch of salt and mix well to enhance the flavors. If the filling is too thick, add a tiny bit more milk, a teaspoon at a time; if too thin, add more powdered sugar, a tablespoon at a time, until the desired spreading consistency is reached.
Bringing it All Together: The Sandwich Assembly
- Assemble Cookies:
Once the cookies are completely cool, spread about 1 to 2 tablespoons of chocolate filling evenly on the flat side of one cookie. Use an offset spatula or a butter knife for easy and neat spreading.
- Create the Sandwich:
Top the filled cookie with another plain cookie, flat side down, to create a perfect sandwich. Gently press them together so the filling comes to the edges. Repeat this process with the remaining cookies and filling.
Elevate Your Bake: Expert Tips for Irresistible Chewy Oatmeal Chocolate Sandwich Cookies
Do Not Overbake: Your Golden Rule for Chewiness!
This is the single most crucial tip for achieving that perfect soft, chewy texture. Remove cookies from the oven when their edges are just lightly golden and their centers still look slightly soft and glossy. They will continue to firm up beautifully as they cool on the baking sheet.Precision is Key: Measure Ingredients Accurately.
Especially for baking, using exact measurements ensures consistent results every time. Use a kitchen scale for flour and oats if possible, and always level off dry ingredients carefully with a straight edge.Room Temperature Matters: Butter and Eggs.
Ensure your butter is properly softened (presses easily, but not melted) and your eggs are at room temperature. This helps them cream together smoothly and emulsify better, creating a more uniform and tender cookie dough.Don’t Rush the Cooling Process.
It’s tempting to fill them immediately, but waiting until the cookies are completely cool prevents the chocolate filling from melting and ensures a clean, stable sandwich assembly. Patience truly pays off here.Adjust Filling Consistency.
If your chocolate filling seems too stiff to spread easily, add a tiny bit more milk (half a teaspoon at a time) and beat until it’s perfectly spreadable. If it’s too thin, beat in a tablespoon of powdered sugar until it reaches the desired consistency.
Solving Common Cookie Setbacks: Troubleshooting Guide
My Cookies Are Too Hard or Dry
This is almost always a sign of overbaking. Ensure you’re pulling them out of the oven when the edges are just set and golden, but the centers still look slightly soft. Remember that baking time can vary significantly by oven, so keep a close eye on them and trust the visual cues.
The Cookies Spreader Too Much in the Oven
Excessive spread can be due to several factors: overly soft butter, warm dough, or an oven that isn’t hot enough. To remedy this, try chilling your cookie dough for 30 minutes before baking. Also, ensure your butter is just softened, not melted, and always verify your oven temperature with an independent oven thermometer.
The Chocolate Filling is Too Runny or Too Stiff
If your filling is too runny, gradually beat in more powdered sugar, one tablespoon at a time, until it thickens to a spreadable consistency. Conversely, if it’s too stiff, add a very small amount of milk (half a teaspoon at a time) and beat until it reaches a smooth, easy-to-spread texture. Adjust slowly for best results.
Beyond the Bake: Serving, Storing, and Enjoying Your Creation
Delightful Serving Suggestions
These Chewy Oatmeal Chocolate Sandwich Cookies are a delightful treat on their own, perfect for any occasion. They also pair wonderfully with a cold glass of milk, a comforting cup of hot coffee, or even alongside a scoop of vanilla bean ice cream for an extra indulgent dessert experience.
Optimal Storage for Lasting Freshness
To maintain their exquisite taste and texture, store your assembled Chewy Oatmeal Chocolate Sandwich Cookies in an airtight container at room temperature. They will remain wonderfully fresh and delicious for up to 3-4 days, perfect for enjoying throughout the week.
Make-Ahead Marvels: Freezing Tips
The cookie dough can be prepared in advance and frozen for up to 3 months. Simply form balls of dough, flash freeze them on a baking sheet until solid, then transfer them to a freezer-safe bag. Bake from frozen, adding a minute or two to the original baking time.
Baked, unfilled cookies can also be frozen for up to 2 months. Layer them with parchment paper in an airtight container. Thaw at room temperature before preparing the chocolate filling and assembling the sandwiches.
Your Questions Answered: Chewy Oatmeal Chocolate Sandwich Cookies FAQ
Can I Substitute Quick Oats for Old-Fashioned Rolled Oats?
While technically possible, it’s not recommended for achieving the ideal texture in this recipe. Quick oats are more finely cut and will absorb liquids faster, potentially leading to a gummier texture that isn’t as delightfully chewy or hearty as with old-fashioned rolled oats.
Is it Possible to Make These Gluten-Free?
Yes, you can often make these cookies gluten-free with successful results. Substitute the all-purpose flour with a high-quality 1:1 gluten-free baking flour blend that contains xanthan gum. Additionally, ensure your old-fashioned oats are certified gluten-free to avoid any cross-contamination.
How Long Do These Cookies Stay Fresh?
When stored properly in an airtight container at room temperature, your Chewy Oatmeal Chocolate Sandwich Cookies will stay wonderfully fresh and delicious for about 3 to 4 days. Beyond that, they may start to lose some of their signature chewiness.
Can I Adjust the Sweetness of the Filling?
Absolutely! The amount of powdered sugar in the chocolate filling can be adjusted to perfectly suit your preference. Start with the recommended amount, then incrementally add more if you desire a sweeter filling, or use a little less if you prefer it less sweet, always tasting as you go.
Your Turn to Bake: Share the Chewy Oatmeal Chocolate Sandwich Cookies Joy!
Now that you’re armed with the secret to perfectly soft and chewy cookies and a dreamy chocolate filling, it’s time to get baking! These Chewy Oatmeal Chocolate Sandwich Cookies are more than just a dessert; they’re a taste of nostalgia and a guaranteed crowd-pleaser that will bring smiles to everyone.
More Sweet Ideas
If you enjoyed these chewy oatmeal chocolate cookies, here are a couple more sweet treats you might like.
- For a chewy and satisfying snack, consider making Homemade Chocolate Chip Granola Bars that also use oats for their texture.
- If you’re in the mood for something warm and comforting with a similar spice profile, try Cinnamon French Toast Stacks for a delightful breakfast or brunch option.
We’d love to see your delicious creations! Tag us on social media or leave a comment below to share your experience, tips, or any questions you might have. Happy baking!

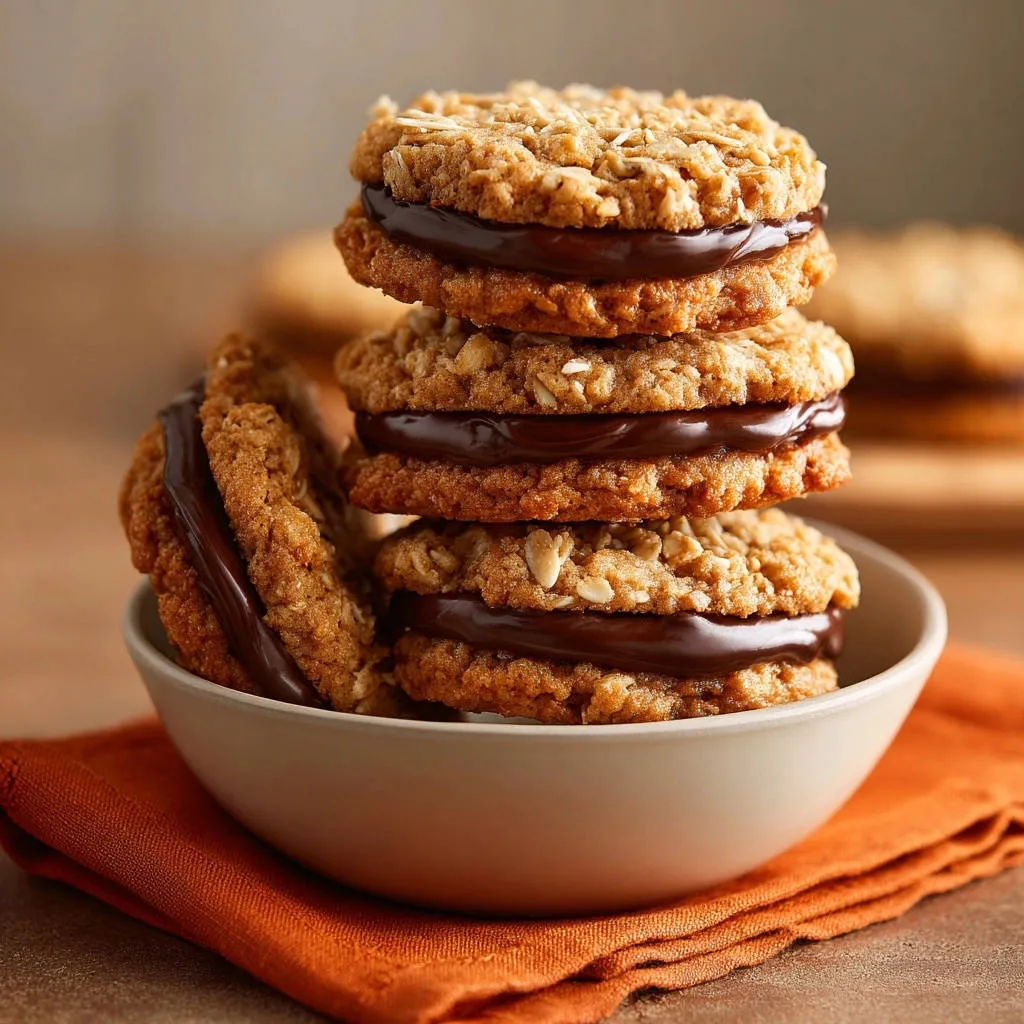
Chewy Oatmeal Chocolate Sandwich Cookies
Course: DessertCuisine: AmericanDifficulty: medium4
about 24-30 sandwich cookies30
minutes25
minutes450
kcal60
minutesUnlock the secret to perfectly soft and chewy oatmeal cookies, now elevated with a rich chocolate filling. This recipe guarantees a satisfyingly nostalgic treat every time, banishing dry cookies forever.
Ingredients
For the Cookies:
1 cup (2 sticks) unsalted butter, softened
1 and 1/2 cups packed light brown sugar
1/2 cup granulated sugar
2 large eggs
1 teaspoon vanilla extract
1 and 1/2 cups all-purpose flour
1 teaspoon baking soda
1/2 teaspoon salt
1 teaspoon ground cinnamon
3 cups old-fashioned rolled oats
For the Chocolate Filling:
1/2 cup (1 stick) unsalted butter, softened
3 cups powdered sugar
1/2 cup unsweetened cocoa powder
1/4 cup milk
1 teaspoon vanilla extract
Pinch of salt
Directions
- Preheat your oven to 375 degrees F (190 degrees C). Line baking sheets with parchment paper.
- In a large bowl, cream together the softened butter, brown sugar, and granulated sugar until light and fluffy. This step helps create the right texture.
- Beat in the eggs one at a time, then stir in the vanilla extract until well combined.
- In a separate medium bowl, whisk together the flour, baking soda, salt, and cinnamon.
- Gradually add the dry ingredients to the wet ingredients, mixing on low speed just until combined. Avoid overmixing.
- Stir in the old-fashioned rolled oats until evenly distributed throughout the dough.
- Drop rounded tablespoons of dough onto the prepared baking sheets, spacing them about 2 inches apart.
- Bake for 8 to 10 minutes, or until the edges are lightly golden and the centers still look slightly soft. This is the critical step for chewiness: do not overbake! The cookies will firm up as they cool.
- Let the cookies cool on the baking sheets for 5 minutes before transferring them to a wire rack to cool completely.
- To make the chocolate filling, in a medium bowl, beat the softened butter until creamy.
- Gradually add the powdered sugar and cocoa powder, alternating with the milk, beating until smooth and fluffy. Add the vanilla extract and a pinch of salt and mix well. If the filling is too thick, add a tiny bit more milk; if too thin, add more powdered sugar.
- Once the cookies are completely cool, spread about 1 to 2 tablespoons of chocolate filling on the flat side of one cookie. Top with another cookie to create a sandwich.
- Repeat with the remaining cookies and filling. Store in an airtight container at room temperature.
Notes
- Do not overbake cookies for optimal chewiness; they will firm up as they cool.