Why These Chocolate Crinkle Thumbprint Cookies Never Flatten
Ever pulled chocolate crinkle thumbprint cookies from the oven only to find flat, shallow craters that swallow your ganache? You’re not alone. Most recipes skip the chill-lock technique, so the dough spreads wildly and loses those perfect wells.
However, this method fixes that frustration. You get raised edges and deep pockets every time, thanks to a strategic chill and deep indent. In addition, the crinkly tops stay crisp while centers stay fudgy.
The secret lies in that 45-minute chill. It solidifies the butter, trapping air bubbles so your chocolate crinkle thumbprint cookies hold shape without sinking. Oh man, the first bite with glossy ganache? Pure bliss.
For a different baked treat, explore cheesecake stuffed cookies that stay perfectly formed.
Key Ingredients for Flawless Chocolate Crinkle Thumbprint Cookies
Softened unsalted butter builds the creamy base in chocolate crinkle thumbprint cookies. It creams perfectly with sugar for aeration without extra spread from salt. Brown sugar packs moisture for that signature chewiness, unlike white sugar’s crisp snap.
Next, unsweetened cocoa powder delivers deep chocolate flavor. Use natural for brighter taste, but Dutch-processed gives richer color without bitterness. All-purpose flour provides just enough protein for structure, while baking soda offers controlled lift.
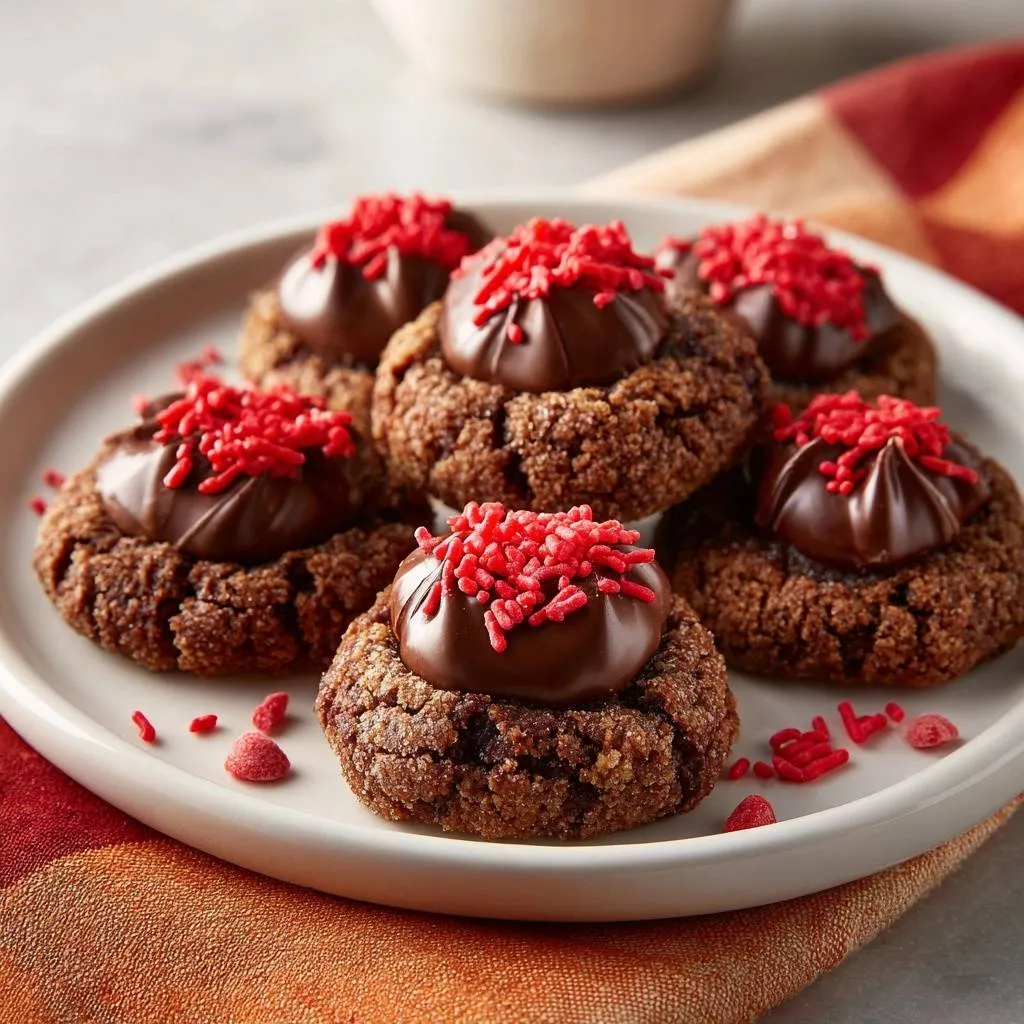
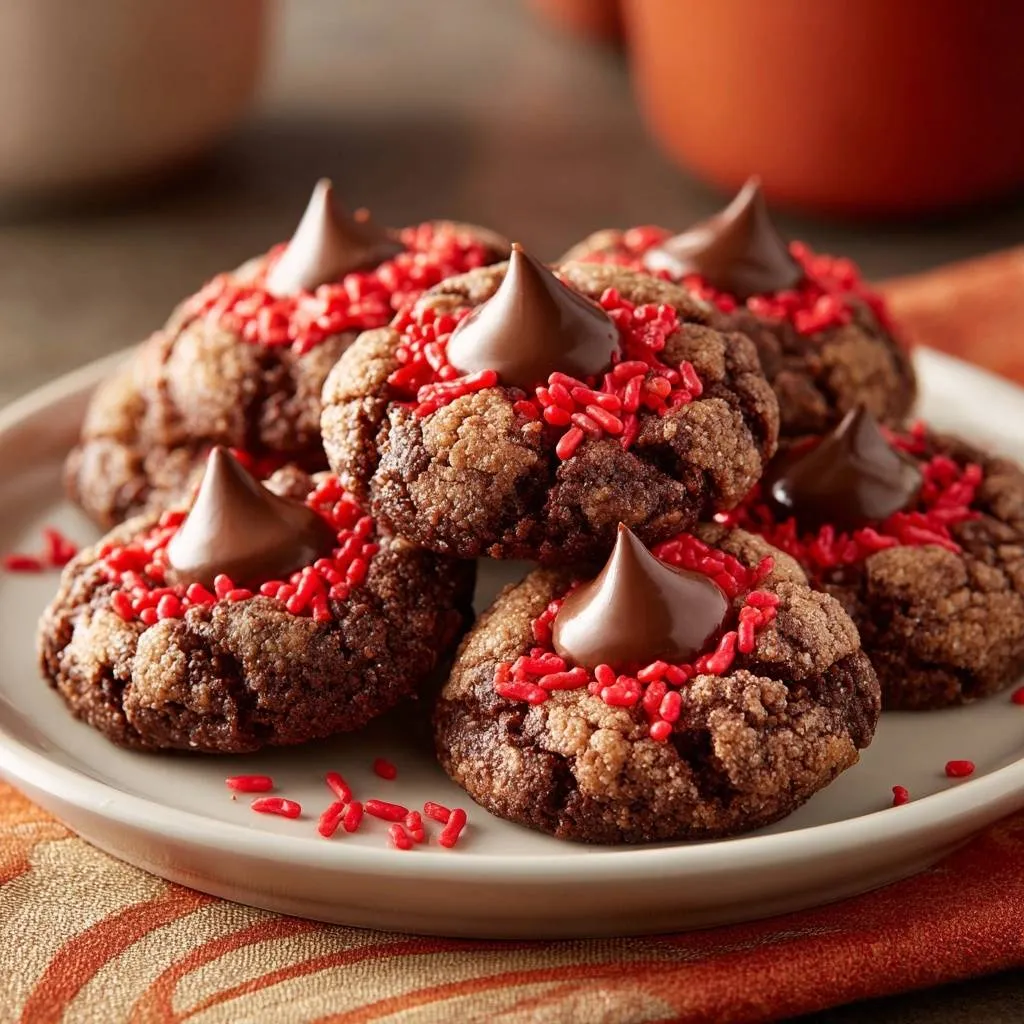
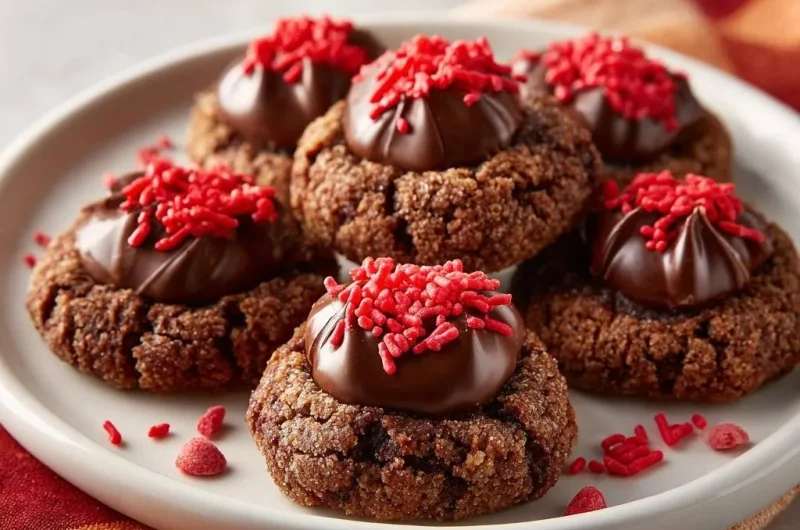
For ganache, semi-sweet chocolate chopped fine melts evenly. Heavy cream creates that glossy emulsion. No heavy cream? Full-fat coconut milk works for dairy-free shine. Red sprinkles add festive pop right before it sets.
- 1 cup unsalted butter, softened
- 1 cup brown sugar, packed
- 1 large egg
- 1 teaspoon vanilla extract
- 2 cups all-purpose flour
- 1/3 cup unsweetened cocoa powder
- 1/2 teaspoon baking soda
- 1/4 teaspoon salt
- 1/2 cup granulated sugar (for rolling)
- 8 ounces semi-sweet chocolate, chopped
- 1/2 cup heavy cream
- Red sprinkles
Butter and Sugar Duo in Chocolate Crinkle Thumbprint Cookies
Beat butter and brown sugar for exactly 2 minutes. This aerates the mix, creating tiny air pockets that expand in the oven. Therefore, you avoid dense cookies. Brown sugar’s molasses keeps them chewy, not brittle.
Cocoa and Flour Balance for Crinkle Texture
Just 1/3 cup cocoa prevents dryness while coating flour particles for crinkles. All-purpose flour’s protein holds structure. In addition, baking soda reacts gently for lift without puffing too high.
Science of Chill-Lock in Chocolate Crinkle Thumbprint Cookies
Chilling dough for 45 minutes triggers fat crystallization in chocolate crinkle thumbprint cookies. Butter firms up, locking in those creamed air bubbles. Therefore, no wild spreading happens in the heat.
Gluten stays relaxed too, since cold slows development. During bake, oven spring lifts edges while centers soften. The Maillard reaction browns the crinkles as sugar melts and cracks the surface.
Picture room-temp dough flattening like a pancake versus chilled balls holding firm. That’s your guarantee for deep ganache wells in chocolate crinkle thumbprint cookies.
How Chilling Prevents Flat Chocolate Crinkle Thumbprint Cookies
Butter solidifies at cool temps, trapping air and preventing melt-out. Compare it to warm dough oozing flat. Chilled versions bake tall with intact indents.
Essential Tools for Chocolate Crinkle Thumbprint Cookies
Parchment-lined sheets stop sticking and promote even browning. A 1-tablespoon scoop ensures uniform chocolate crinkle thumbprint cookies that bake evenly. Skip it, and sizes vary wildly.
Use a wooden spoon end for thumbprints. It stays cool unlike your warm finger, avoiding melt. For ganache, a piping bag gives neat fills, but a spoon works fine.
Therefore, no fancy gear needed. Basics deliver pro results every time.
Best Scoops and Indent Tools Explained
Grab a #50 disher scoop for 1-tablespoon balls. Rounded spoon end presses even wells halfway deep. Fingers warm dough too much, so avoid them.
Phase 1: Mixing Dough for Chocolate Crinkle Thumbprint Cookies
Beat softened butter and brown sugar until creamy, about 2 minutes. Add egg and vanilla, mix smooth. You’ll smell that rich chocolate promise already.
Whisk flour, cocoa, baking soda, and salt separately. Gradually add to wet mix until dough forms. Don’t overmix, or gluten toughens your chocolate crinkle thumbprint cookies.
Pro tip: Use a stand mixer on low for control. Handheld works, but stop at first sight of dough clumping.
Phase 2: Chilling and Shaping Chocolate Crinkle Thumbprint Cookies
Cover and chill dough 45 minutes. It firms up, ready for rolling. Preheat oven to 350°F with parchment sheets ready.
Scoop 1-tablespoon balls, roll tight spheres. Coat in granulated sugar; it melts for crinkly cracks. Space 2 inches apart.
Press deep thumbprint halfway into each center. Cold dough holds it perfectly.
Mastering the Deep Thumbprint Indent
Press thumb or spoon end straight down, halfway through the ball. Do it right after rolling while cold. Mini spoon alternative keeps hands clean for even depth.
Phase 3: Baking and Re-Pressing for Perfect Wells
Bake 10 to 12 minutes. Edges set firm and crinkly, centers stay soft. Pull them early for fudgy bites.
For more fudgy goodness, explore these frosted dark chocolate toffee cookies.
Right out of the oven, gently re-press centers with spoon end. Heat softens edges slightly, so this locks deep wells in chocolate crinkle thumbprint cookies.
Cool on sheet 5 minutes, then rack. They firm up with crisp outsides.
Phase 4: Ganache Filling for Chocolate Crinkle Thumbprint Cookies
Heat cream until steaming, not boiling. Pour over chopped chocolate, let sit 2 minutes. Stir smooth for glossy ganache.
Cool 10 minutes until pipeable. Spoon or pipe into wells, top with red sprinkles fast. They stick best before setting.
Let cool fully. Fudgy centers await.
Ganache Temperature for Pipeable Consistency
Cool ganache 10 minutes to thicken without lumps. If grainy, warm over double boiler gently. Stir until silky.
Avoiding Pitfalls in Chocolate Crinkle Thumbprint Cookies
Dough too soft? Chill longer. Flat cookies mean overmixing or warm oven, so measure temps precisely.
Ganache seizing from water? Dry bowl first. Shallow wells? Press deeper initially. These fixes save your chocolate crinkle thumbprint cookies.
| Issue | Solution |
|---|---|
| Spread cookies | Chill 45+ min, don’t overmix |
| Shallow wells | Deep press, re-press hot |
| Lumpy ganache | Chop fine, stir smooth |
Fixing Spread and Shallow Wells
Insufficient chill causes spread; extend to 1 hour. Small indents sink; go halfway deep. High oven temp flattens fast, so check thermometer. Chill fixes most woes.
Flavor Twists on Chocolate Crinkle Thumbprint Cookies
Swap semi-sweet for white chocolate with peppermint extract in ganache. Add 1 teaspoon espresso powder to dough for depth in chocolate crinkle thumbprint cookies.
Fill with raspberry jam instead; skip ganache. Or swirl hazelnut spread for nutty vibe.
Vegan? Use plant butter and flax egg (1 tbsp flax + 3 tbsp water). Chill holds crinkles.
Storage and Make-Ahead for Chocolate Crinkle Thumbprint Cookies
Scoop and freeze dough balls up to 3 months. Bake straight from freezer, add 1-2 minutes. Baked unfilled cookies stay airtight 5 days.
Ganache-filled freeze 1 month in single layer, thaw slowly at room temp. Perfect for holiday prep. Therefore, bake ahead stress-free.
Pairing Ideas for Chocolate Crinkle Thumbprint Cookies
Espresso cuts the richness perfectly. Hot cocoa doubles chocolate joy. Add to fruit salad for contrast or cheese board with sharp cheddar.
More Sweet Ideas
If you’re craving more chocolate creations, consider these recipes.
- For a similar sweet indulgence, try these Cinnamon French Toast Stacks, offering a comforting breakfast treat.
- Enjoy another delightful breakfast option with these S’mores Pancakes, perfect for a fun and flavorful meal.
Holiday platters shine with nuts and citrus slices. Sparkling cranberry juice refreshes alongside.
Common Questions on Chocolate Crinkle Thumbprint Cookies
Can Dough Chill Overnight?
Yes, up to 24 hours. Flavors deepen, crinkles intensify. Just let warm slightly before scooping for easy rolling.
Substitute for Heavy Cream in Ganache?
Coconut cream gives dairy-free gloss. Full-fat milk works but sets thicker, less pourable. Heat same way.
Why Use Brown Sugar Only in Chocolate Crinkle Thumbprint Cookies?
Brown sugar’s molasses adds chew and moisture. White sugar crisps more. Combo works, but all-brown guarantees soft centers.
Can I Make Chocolate Crinkle Thumbprint Cookies Gluten-Free?
Yes, swap 2 cups 1:1 gluten-free flour blend. Add 1/4 tsp xanthan gum if not included. Chill extra 15 minutes for structure.
Can I Use Dutch Cocoa for Chocolate Crinkle Thumbprint Cookies?
Absolutely, it darkens color without acidity tweak. Natural cocoa brightens flavor. Both crinkle perfectly.
How to Scale Up Chocolate Crinkle Thumbprint Cookies for Gifts?
Double recipe easy. Chill longer, up to 1 hour, for big batches. Freeze extras scooped for fresh baking.
Chocolate Crinkle Thumbprint Cookies
Course: DessertCuisine: AmericanDifficulty: medium24
cookies30
minutes12
minutes180
kcal60
MinutesTired of thumbprint cookies baking flat? This recipe uses a chill-lock technique plus deep indent method to guarantee perfect pockets for chocolate ganache every time, no spreading or sinking.
Ingredients
1 cup unsalted butter, softened
1 cup brown sugar, packed
1 large egg
1 teaspoon vanilla extract
2 cups all-purpose flour
1/3 cup unsweetened cocoa powder
1/2 teaspoon baking soda
1/4 teaspoon salt
1/2 cup granulated sugar (for rolling)
For ganache:
8 ounces semi-sweet chocolate, chopped
1/2 cup heavy cream
Red sprinkles, for topping
Directions
- In a large bowl, beat butter and brown sugar until creamy, about 2 minutes. Add egg and vanilla, beat until smooth.
- In another bowl, whisk flour, cocoa, baking soda, and salt. Gradually mix into wet ingredients until a dough forms. Do not overmix.
- Cover dough and chill for 45 minutes. This chill-lock step firms the dough to prevent spreading and keeps thumbprints intact during baking.
- Preheat oven to 350 degrees F. Line baking sheets with parchment paper.
- Scoop 1-tablespoon dough balls, roll tightly into spheres. Roll each in granulated sugar for signature crinkle effect. Place 2 inches apart on sheets.
- Press deep thumbprint into each center using your thumb or end of a wooden spoon, about halfway through the ball. The deep indent plus chill ensures it holds shape without flattening.
- Bake 10 to 12 minutes until edges are set and crinkly but centers still soft. Remove and immediately re-press centers gently with spoon end if any shallowing occurred. This locks the perfect well. Cool on sheet 5 minutes, then transfer to rack.
- For ganache, heat cream until steaming, pour over chopped chocolate. Let sit 2 minutes, stir until smooth and glossy. Cool 10 minutes until pipeable.
- Pipe or spoon ganache into thumbprint wells. Top immediately with red sprinkles before ganache sets. Let cool fully for fudgy centers. Store airtight up to 5 days.
Notes
- Chill dough for 45 minutes to prevent spreading. Re-press centers immediately after baking if needed. Store airtight up to 5 days.