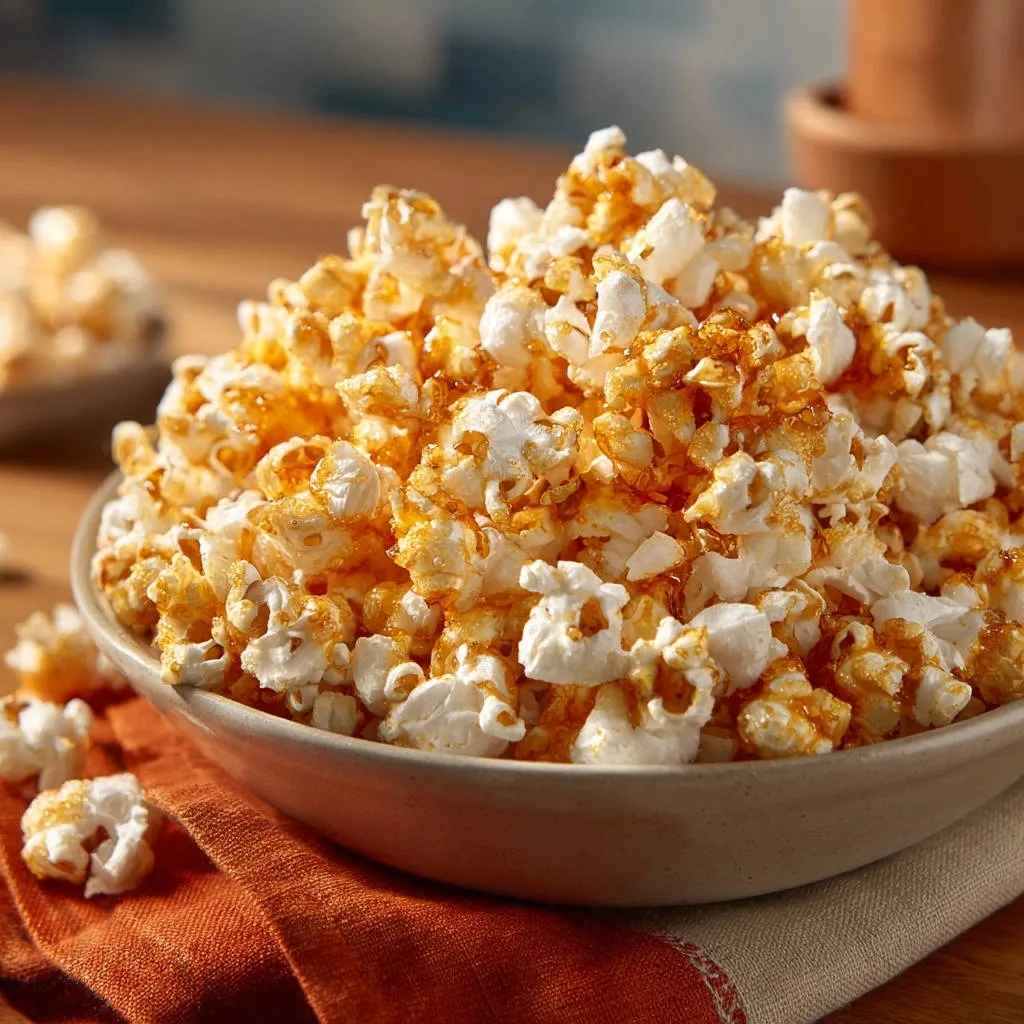
For years, I adored homemade caramel popcorn but wrestled with sticky, messy batches that left my hands coated in goo. It felt like a magic trick trying to get that perfect balance of sweet and crisp, but after countless experiments, I finally cracked the code to truly non-sticky, gloriously crunchy caramel. This Classic Crunchy Caramel Popcorn recipe is the definitive answer to all those sticky struggles, promising a perfectly coated, effortlessly enjoyable treat every time.
Why Our Classic Crunchy Caramel Popcorn is a Game-Changer
Forget everything you thought you knew about sticky caramel popcorn. This recipe isn’t just another set of instructions; it’s a meticulously crafted method designed to deliver unparalleled results.
For another sweet and salty treat, check out these pretzel caramel chocolate bars.
For a similar sweet experience, check out this lovely caramel layer cake.
The Secret to Non-Sticky Perfection
The key to our signature non-sticky caramel lies in two crucial elements: the precise addition of baking soda and a controlled baking period. Baking soda creates tiny air pockets, lightening the caramel, while the oven time thoroughly dries the coating, ensuring it hardens beautifully rather than remaining tacky.
Achieving That Irresistible Crunch
That satisfying snap and crackle come from the caramel’s final texture. Our method ensures the caramel bakes onto each kernel, becoming wonderfully brittle. This prevents the chewy, soft texture often associated with homemade caramel corn, delivering pure crunch.
Effortless & Simple: A Classic Recipe for Everyone
Despite its gourmet results, this Classic Crunchy Caramel Popcorn recipe is surprisingly straightforward. We’ve simplified the process to ensure even novice bakers can achieve perfectly crisp, non-sticky caramel popcorn with confidence.
Gather Your Essentials: The Building Blocks of Deliciousness
Every great recipe begins with quality ingredients. Here’s why each component in our Classic Crunchy Caramel Popcorn recipe plays a vital role in achieving that delightful crunch and non-sticky finish.
Popcorn Kernels: Starting with the Best Base
Choosing good quality unpopped kernels is essential for a high pop rate and uniform size. This ensures each piece gets an even caramel coating without excess unpopped duds.
Caramel’s Core: Butter, Sugar, and Syrup
Unsalted butter provides rich flavor and a smooth base for the caramel. Light brown sugar gives the caramel its signature deep, molasses notes, while light corn syrup is crucial for preventing sugar crystallization, ensuring a silky, smooth caramel.
The Magic Touch: Vanilla and Baking Soda
Vanilla extract adds warmth and depth to the sweet caramel, elevating the overall flavor profile. Baking soda is the true hero here; it reacts with the acid in the brown sugar, creating tiny bubbles that make the caramel light and porous, which directly contributes to its non-sticky quality and delightful crunch.
Popcorn Kernels: 1/2 cup unpopped popcorn kernels
Vegetable Oil: 2 tablespoons
Unsalted Butter: 1 cup (2 sticks)
Light Brown Sugar: 2 cups, packed
Light Corn Syrup: 1/2 cup
Salt: 1 teaspoon
Vanilla Extract: 1 teaspoon
Baking Soda: 1/2 teaspoon
Tools for Success: What You’ll Need
Large, Heavy-Bottomed Pot with Lid: Essential for popping the popcorn evenly without burning.
Very Large Heatproof Bowl: Crucial for tossing the popcorn with caramel without spillage.
Heavy-Bottomed Saucepan: For making the caramel, preventing scorching.
Heatproof Spatula or Wooden Spoons: For safely stirring the hot caramel and tossing the popcorn.
Large Baking Sheets (x2): For spreading and baking the caramel popcorn.
Parchment Paper or Silicone Mats: For non-stick baking and cooling surfaces.
Your Step-by-Step Guide to Classic Crunchy Caramel Popcorn
Preheat & Prepare Your Workspace: Preheat your oven to 250 degrees F (120 degrees C). Lightly grease two large baking sheets or line them with parchment paper. This preparation ensures you’re ready to go once the caramel is made, preventing any rush or mess later.
Master the Popcorn (No Burned Kernels!): In a large, heavy-bottomed pot with a lid, heat the vegetable oil over medium-high heat. Add the popcorn kernels, cover, and shake the pot occasionally until popping slows significantly. Remove from heat and pour the popped corn into a very large heatproof bowl. Carefully remove any unpopped kernels to avoid hard bites in your finished treat.
Crafting the Golden Caramel Mixture: In a heavy-bottomed saucepan, melt the butter over medium heat. Stir in the brown sugar, corn syrup, and salt. Bring the mixture to a boil, stirring constantly. Once boiling, stop stirring and let it boil for exactly 5 minutes without interruption. This precise boiling time is key for proper caramel consistency and ultimately, the crunch.
The Foaming Secret: Vanilla & Baking Soda Magic: Remove the caramel from the heat. Quickly stir in the vanilla extract and the baking soda. The mixture will foam up considerably. This chemical reaction is essential; it creates a lighter, less dense caramel that coats the popcorn beautifully and helps prevent stickiness.
Coating Every Kernel with Sweetness: Pour the hot, foamed caramel evenly over the popped popcorn in the large bowl. Use a heatproof spatula or two wooden spoons to gently toss the popcorn, coating it as evenly as possible. Work quickly but carefully to ensure all kernels get their sticky, sweet embrace before the caramel sets too much.
Spreading for Even Baking: Spread the coated popcorn in a single layer onto the prepared baking sheets. Avoid overcrowding the sheets, as this can lead to uneven drying and less crispy results, impacting the final texture.
The Crucial Bake: Drying for Ultimate Crunch: Bake for 1 hour, stirring the popcorn gently every 15 minutes. This crucial baking step dries out the caramel, ensures it hardens properly, and helps separate the kernels, which is vital for achieving a non-sticky, wonderfully crunchy finish. It’s the secret weapon for perfect caramelized popcorn.
Cool Down for Crisp Perfection: Remove from the oven and immediately spread the popcorn out on new sheets of parchment paper or a silicone mat to cool completely. As it cools, the caramel will harden and become wonderfully crisp and non-sticky. Break apart any large clumps before storing.
Chef’s Secrets & Pro Tips for Perfect Caramel Popcorn
These expert tips will help ensure your Classic Crunchy Caramel Popcorn turns out perfectly every single time.
The Importance of a Heavy-Bottomed Pot: Using a thick-bottomed pot for both popping and caramel making prevents burning and ensures even heat distribution, critical for success. This foundation prevents hot spots that can scorch sugar.
Don’t Rush the Boil: Resist the urge to stir the caramel once it begins boiling in Step 3. Let it boil undisturbed for the full 5 minutes to reach the perfect consistency for crispness. Interrupting this process can affect the final set of the caramel.
Embrace the Foam (Baking Soda Reaction): The dramatic foaming in Step 4 is a good sign! It means the baking soda is reacting, creating air pockets that lead to that desired lighter, non-dense caramel. Don’t be alarmed by the volume increase.
Stir During Baking: The 15-minute stirring during the baking phase (Step 7) is non-negotiable. It helps dry out the caramel evenly and prevents sticking to the pan or clumping together, ensuring each kernel is perfectly coated and separates easily.
Cool Completely and Spread Out: Patience during the cooling stage (Step 8) is vital. Spreading the popcorn thinly helps it cool faster and harden perfectly, ensuring maximum crunch. Rushing this step can result in a softer caramel.
Troubleshooting Your Caramel Popcorn: Common Issues Solved
Even with the best instructions, sometimes things go awry. Here are solutions to common Classic Crunchy Caramel Popcorn mishaps.
Why Is My Caramel Still Sticky?
If your caramel remains sticky, it likely hasn’t been baked long enough, or the baking soda didn’t fully react. Ensure your oven temperature is accurate and that you bake for the full hour, stirring diligently.
My Popcorn Isn’t Crunchy Enough!
Lack of crunch usually points to insufficient baking time or exposure to humidity during cooling. Make sure the caramel popcorn bakes for the full duration and is spread thinly to cool completely in a dry environment.
Caramel Burned Before Coating?
Burning caramel often results from heat being too high or not stirring consistently before the boil. Use a heavy-bottomed saucepan over medium heat and stir constantly until the mixture reaches a rolling boil, then stop stirring for the precise 5-minute boil.
How to Avoid Unpopped Kernels
For fewer unpopped kernels, ensure your oil is hot enough before adding the corn, and shake the pot frequently. After popping, carefully pick out any unpopped kernels from your bowl before adding the caramel to guarantee a smooth experience.
Enjoying & Storing Your Homemade Masterpiece
Once you’ve mastered this Classic Crunchy Caramel Popcorn, you’ll want to enjoy it at its best and keep it fresh.
Creative Serving Suggestions
This crunchy popcorn treat is fantastic on its own for movie nights or game days. You can also crush some and sprinkle it over ice cream, use it as a topping for cakes or cupcakes, or even incorporate it into a dessert board for a delightful textural element. For another crunchy, sweet treat, you might love our Foolproof Honeycomb Bites That Never Stick.
If you’re enjoying this sweet crunch, try these chewy raisin oat bars for a different kind of texture.
Storing for Lasting Freshness
To maintain maximum crispness, store your Classic Crunchy Caramel Popcorn in an airtight container at room temperature. Avoid refrigerating, as condensation can make it soft and sticky.
More Sweet Treats to Enjoy
If you’re craving more caramel goodness, these chocolate recipes are a great addition.
- For a rich chocolate experience, try these Salted Caramel Layered Brownies, which offer a similar caramel sweetness.
- You might also enjoy these Caramel Pecan Brownie Bars for another layered caramel treat.
Can I Make It Ahead?
Absolutely! This caramel popcorn keeps beautifully. You can make it 3-5 days in advance and store it as directed. It’s perfect for gifting or preparing for a party well before the event.
Your Classic Caramel Popcorn Questions Answered
Can I use different oils for popping?
Yes, you can use other neutral oils like canola oil or coconut oil for popping. Avoid olive oil, as its flavor can be too strong.
What if I don’t have corn syrup?
Corn syrup is highly recommended for preventing crystallization and ensuring a smooth, non-grainy caramel. While some recipes suggest substitutes like golden syrup or honey, they may alter the flavor and texture of the final caramel.
How long does homemade caramel popcorn last?
Stored properly in an airtight container at room temperature, Classic Crunchy Caramel Popcorn will stay fresh and crisp for about 1-2 weeks. Humidity is its enemy, so keep it sealed!
Can I add nuts or other mix-ins?
Yes, you can! After you’ve poured the caramel over the popcorn and before baking, gently toss in your favorite nuts like pecans, peanuts, or cashews. You can also add chocolate chips or M&Ms after the popcorn has completely cooled.
Is this recipe gluten-free?
Yes, this Classic Crunchy Caramel Popcorn recipe is naturally gluten-free, assuming all your ingredients (especially corn syrup and vanilla extract) are certified gluten-free if cross-contamination is a concern for you.
Ready to Create Your Own Classic Crunchy Caramel Popcorn?
Now that you have all the secrets to perfectly non-sticky, gloriously crunchy caramel popcorn, it’s time to get popping! This recipe is more than just a sweet snack; it’s a delightful experience waiting to happen. Embrace the process, savor the aroma, and get ready to impress everyone with your homemade Classic Crunchy Caramel Popcorn. Don’t forget to share your delicious creations and tag us!

Caramel Popcorn
Course: SnacksCuisine: AmericanDifficulty: medium4
a large batch20
minutes1
hour550
kcal60
minutesExperience the joy of homemade caramel popcorn without the sticky mess! This recipe reveals the secret to perfectly crisp, beautifully coated kernels that are easy to enjoy. You’ll be amazed how simple it is to get it just right every time.
Ingredients
1/2 cup unpopped popcorn kernels
2 tablespoons vegetable oil
1 cup unsalted butter
2 cups packed light brown sugar
1/2 cup light corn syrup
1 teaspoon salt
1 teaspoon vanilla extract
1/2 teaspoon baking soda
Directions
- Preheat your oven to 250 degrees F (120 degrees C). Lightly grease two large baking sheets or line them with parchment paper.
- Pop the popcorn: In a large, heavy-bottomed pot with a lid, heat the vegetable oil over medium-high heat. Add the popcorn kernels, cover, and shake the pot occasionally until popping slows significantly. Remove from heat and pour the popped corn into a very large heatproof bowl. Remove any unpopped kernels.
- Make the caramel: In a heavy-bottomed saucepan, melt the butter over medium heat. Stir in the brown sugar, corn syrup, and salt. Bring the mixture to a boil, stirring constantly. Once boiling, stop stirring and let it boil for 5 minutes.
- Remove the caramel from the heat. Quickly stir in the vanilla extract and the baking soda. The mixture will foam up considerably. This reaction is essential for creating a lighter, less dense caramel that coats the popcorn beautifully and helps prevent stickiness.
- Pour the hot caramel evenly over the popped popcorn in the large bowl. Use a heatproof spatula or two wooden spoons to gently toss the popcorn, coating it as evenly as possible.
- Spread the coated popcorn in a single layer onto the prepared baking sheets.
- Bake for 1 hour, stirring the popcorn gently every 15 minutes. This crucial baking step dries out the caramel, ensures it hardens properly, and helps separate the kernels, which is vital for achieving a non-sticky, crunchy finish.
- Remove from the oven and immediately spread the popcorn out on new sheets of parchment paper or a silicone mat to cool completely. As it cools, the caramel will harden and become wonderfully crisp and non-sticky. Break apart any large clumps before storing.
Notes
- Baking is crucial for a non-sticky, crunchy finish. Break apart clumps once cooled.