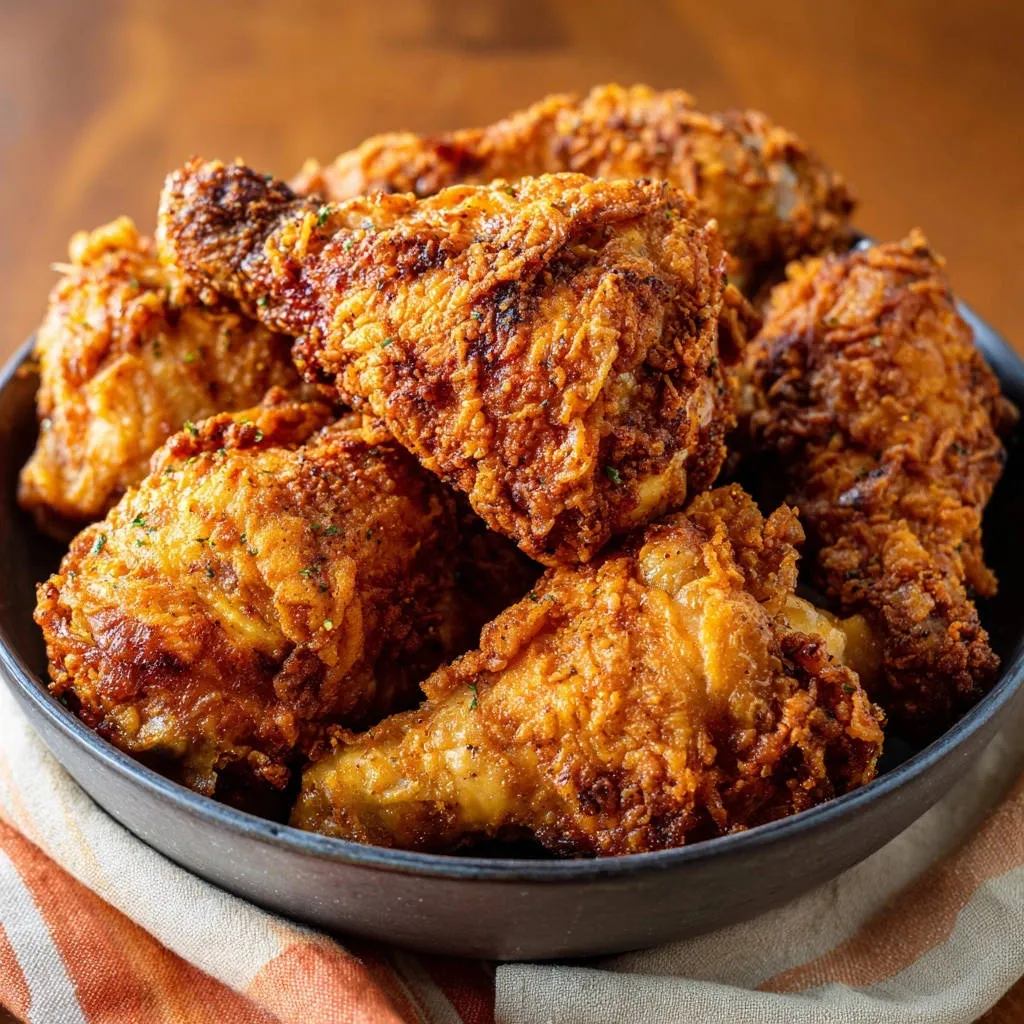
Who else has faced the disappointment of fried chicken that loses its incredible crunch just minutes after hitting the plate? I’ve been there too, and it’s frustrating when that beautiful crust goes soft. This Classic Fried Chicken recipe isn’t just a meal; it’s a proven method for achieving lasting crispiness, bite after delicious bite, guaranteed to make you wonder why you ever made it any other way.
Why This Classic Fried Chicken Recipe is a Game-Changer
This recipe provides clear, actionable steps that address the most common fried chicken challenges. It focuses on specific techniques to deliver consistently tender, juicy chicken encased in an unbeatable, enduringly crispy crust.
The Ever-Elusive Lasting Crunch, Finally Achieved
Many recipes promise crispness, but few deliver on the lasting crunch. Our method tackles this head-on, ensuring your Classic Fried Chicken remains wonderfully crispy even as it cools.
For an even more satisfying crunch, explore how crispy panko chicken cutlets achieve that lasting crispness.
We’ve meticulously developed techniques that prevent the crust from becoming soft, addressing common pitfalls like improper coating adhesion and trapped moisture.
Saying Goodbye to Soggy Crusts: Our Proven Method
The secret lies in a combination of precise moisture control, a strategic double-dredging technique, and a crucial resting period for the breaded chicken. These steps work synergistically to create a robust, adherent crust that locks in moisture while staying incredibly crunchy.
The Building Blocks of Flavor: Essential Ingredients
Every ingredient plays a vital role in the flavor, texture, and ultimate crispness of this perfect fried chicken.
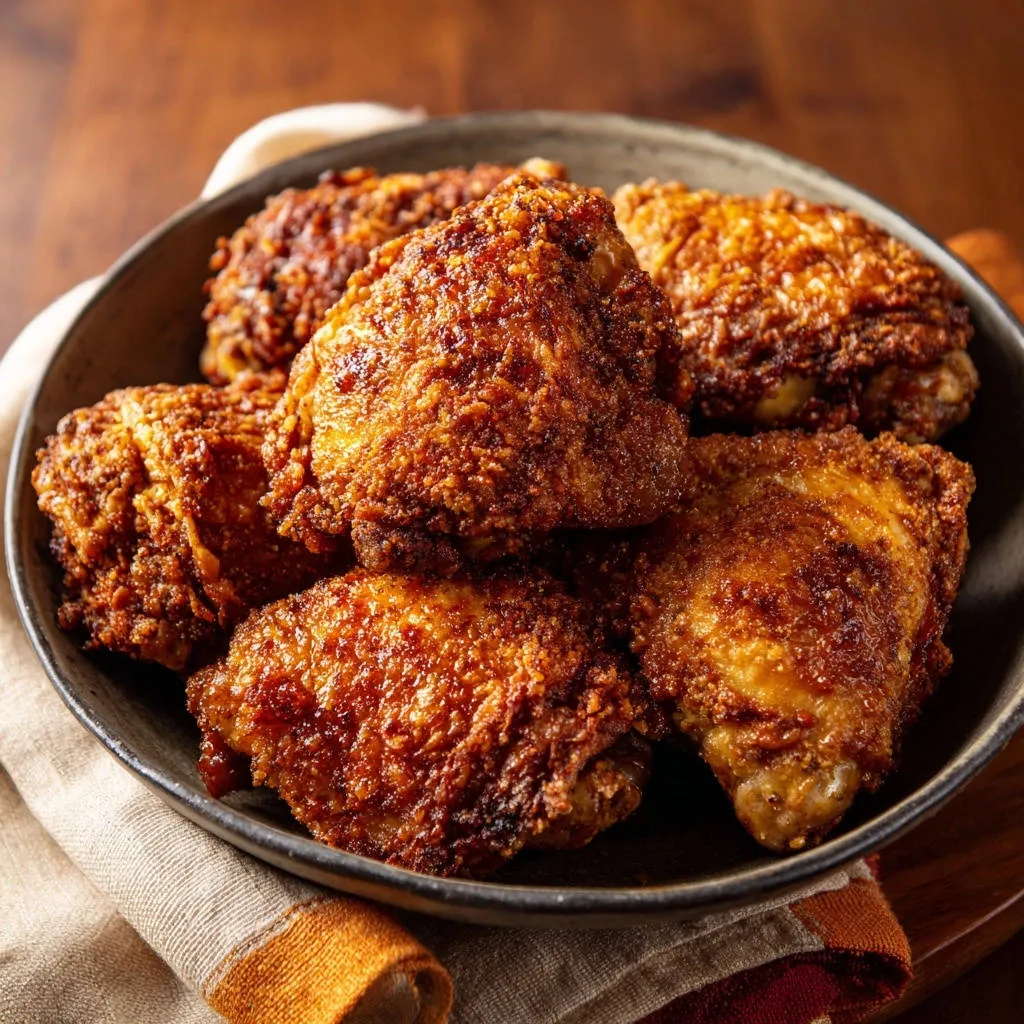
The Star of the Show: Chicken Selection
Bone-In, Skin-On Chicken Pieces: Opt for a mix of drumsticks and thighs. These cuts are ideal because the bone adds deep flavor and helps retain moisture, while the skin crisps beautifully, protecting the succulent meat beneath.
Crafting the Crispy Coating: Dry Ingredients
All-Purpose Flour: This forms the essential base of our crispy coating. It creates the foundational layer for the seasoned crust to build upon.
Salt & Black Pepper: These are fundamental seasonings, providing the necessary savory foundation for the entire dish.
Garlic Powder & Onion Powder: These deliver savory depth and aromatic warmth, enhancing the overall flavor profile without adding moisture.
Paprika: Not just for color, paprika adds a mild, sweet peppery note that beautifully complements the other spices, contributing to a rich, golden hue.
For an even more delightful sweetness, explore our honey fried chicken and waffles.
Cayenne Pepper (Optional): For those who appreciate a subtle, warming kick, cayenne pepper adds a delightful touch of heat that elevates the flavor without overwhelming it.
Dried Parsley (Optional): Primarily for visual appeal, a sprinkle of dried parsley provides a hint of fresh green color, making your golden fried chicken even more inviting.
The Binding Agent: Wet Batter
Large Eggs: Eggs are crucial for creating a sticky surface that binds the dry flour mixture firmly to the chicken. They act as the primary adhesive.
Milk: Added to the eggs, milk contributes moisture and richness to the batter. This helps to create a tender interior and ensures the breading adheres exceptionally well, forming a consistent, crispy shell.
Frying Oil Insights
Vegetable Oil (or similar high smoke point oil): A neutral-flavored oil with a high smoke point is vital for perfect frying. It ensures the chicken cooks evenly to a beautiful golden crisp without imparting unwanted flavors or burning prematurely.
Excellent alternatives include canola oil, peanut oil, or sunflower oil, all known for their stability at high temperatures.
Equipping Your Kitchen for Fried Chicken Success
Having the right tools makes all the difference in achieving consistently perfect fried chicken.
The Indispensable Oil Thermometer
Precise oil temperature control is absolutely crucial for consistent crispiness and even cooking. An oil thermometer prevents greasy chicken from oil that’s too cool and burnt exteriors with raw interiors from oil that’s too hot.
Heavy-Bottomed Pot or Dutch Oven
Using a large, heavy-bottomed pot or Dutch oven ensures even heat distribution, which is essential for uniform cooking. Its sturdy construction also makes it safer for deep-frying, preventing spills and maintaining steady temperatures.
The Mighty Wire Rack
A wire rack serves a dual, indispensable role. Before frying, it allows air circulation around the breaded chicken during its resting period, enhancing coating adhesion. After frying, it elevates the cooked chicken, preventing sogginess by allowing excess oil to drain away and steam to escape.
Tongs and Slotted Spoons
Long-handled tongs are essential for safely placing chicken into and removing it from hot oil. A sturdy slotted spoon or spider can also be helpful for gentle maneuvering and ensuring even cooking, prioritizing safety and efficiency during the frying process.
Your Journey to Unbeatable Crispiness: Step-by-Step
Follow these detailed steps for the crispiest, most delicious Classic Fried Chicken you’ve ever made.
Preparation Pointers: Moisture Control is Key
Pat the chicken pieces absolutely dry with paper towels. This crucial step removes surface moisture, which is often overlooked but vital for a truly crispy crust that adheres well and prevents sogginess.
Crafting the Perfect Breading Station
In one large shallow bowl, whisk together all the dry ingredients: flour, salt, black pepper, garlic powder, onion powder, paprika, cayenne pepper (if using), and dried parsley.
In a second shallow bowl, whisk the eggs and milk together until they are well combined. This efficient setup allows for easy and clean breading, preparing your chicken for its golden transformation.
The First Dredge: Building the Base
Dip each thoroughly dried chicken piece into the seasoned flour mixture. Ensure every surface is fully coated, then gently shake off any excess flour to avoid a thick, clumpy, or uneven crust.
The Wet Dip: Adhesion Layer
Next, carefully dip the floured chicken piece into the egg and milk mixture. Let any excess liquid drip off completely; too much moisture here can dilute your second flour coat and compromise crispness.
The Double Dredge Difference: Maximum Crispness Achieved
Immediately return the wet chicken piece to the flour mixture for a second, thorough coating. Press the flour firmly onto the chicken with your hands to ensure a thick, even crust. This double coating is the secret to a substantial, extra-crispy crust that truly lasts.
The Power of Resting: Crucial for Adhesion & Texture
Place the breaded chicken on a wire rack set over a baking sheet. Let it rest at room temperature for at least 15-20 minutes. This critical resting period allows the coating to hydrate and adhere firmly to the chicken, preventing it from falling off during frying and guaranteeing that coveted extra crispy texture.
Oil Temperature Mastery: Heating for Optimal Frying
In a large, heavy-bottomed pot or Dutch oven, heat the vegetable oil over medium-high heat until it reaches 350 degrees Fahrenheit (175 degrees Celsius). Precise temperature is key to preventing greasy or burnt chicken.
If you don’t have a thermometer, a small pinch of flour dropped in should immediately sizzle vigorously – a good indicator, but a thermometer is highly recommended for best results and consistent golden fried chicken.
Frying for Golden Perfection: The Cooking Process
Carefully add 3-4 chicken pieces to the hot oil, ensuring not to overcrowd the pot. Overcrowding significantly lowers the oil temperature and is a common cause of soggy fried chicken. Maintain the oil temperature as close to 325-350 degrees Fahrenheit (160-175 degrees Celsius) as possible throughout frying for perfect fried chicken.
Fry for about 6-8 minutes per side, turning occasionally, until the chicken is deeply golden brown and cooked through. Drumsticks typically take 12-15 minutes total, thighs about 15-18 minutes total. Always confirm the internal temperature reaches 165 degrees Fahrenheit (74 degrees Celsius) with an instant-read thermometer.
Draining and Resting for Lasting Crunch: Post-Fry Care
Once cooked, remove the chicken from the oil and place it on a clean wire rack set over paper towels or a baking sheet. Do not place the chicken directly on paper towels for too long, as this can trap steam underneath and make the bottom soggy.
Allow it to drain and rest for a few minutes before serving. Repeat with remaining chicken pieces, ensuring the oil returns to temperature between batches for consistently crispy fried chicken.
Chef’s Secrets: Elevating Your Classic Fried Chicken Experience
These expert tips go beyond the basic instructions, ensuring your homemade fried chicken is always a triumph.
The Absolute Necessity of Dry Chicken
This cannot be overstated: surface moisture is the enemy of crispiness. Patting your chicken bone-dry allows the breading to adhere perfectly, creating a formidable barrier against sogginess and ensuring that satisfying fried chicken crunch.
Don’t Skimp on the Double Dredge
That second flour coating isn’t optional; it’s the core of this recipe’s “lasting crispness” claim. It builds a thicker, more durable crust that stands up to steam and retains its incredible texture long after frying.
The Power of the Rest Period: Before You Fry
Giving the breaded chicken 15-20 minutes to rest allows the moisture from the wet batter to fully hydrate the flour. This creates a tenacious bond, preventing the coating from sloughing off in the hot oil and ensuring an even, crispy shell.
Mastering Oil Temperature: Your Best Friend for Frying
Fluctuating oil temperature is a common culprit for less-than-perfect fried chicken. Keep a close eye on your thermometer and adjust heat as needed; a consistent temperature ensures even cooking, a golden exterior, and juicy chicken without excess greasiness.
Resist the Urge to Overcrowd the Pot
Adding too many chicken pieces at once drastically lowers the oil temperature. This causes the chicken to absorb more oil, resulting in a greasy, soggy crust and unevenly cooked meat. Fry in smaller batches for optimal results.
Post-Fry Draining: The Wire Rack Method is Gold
Never place freshly fried chicken directly on paper towels for an extended period. The trapped steam underneath will inevitably lead to a soggy bottom. A wire rack allows air to circulate, keeping every inch of your golden fried chicken perfectly crispy.
Consider a Spice Blend for Extra Pizzazz
While our recipe offers a fantastic baseline, don’t hesitate to customize your dry seasoning mix. Experiment with a touch of smoked paprika, a pinch of dried thyme, or even a subtle hint of white pepper to develop your unique flavor signature for this homemade fried chicken.
Troubleshooting Your Fried Chicken: Common Hurdles Solved
Even seasoned cooks encounter issues; here’s how to fix common fried chicken problems.
Why is My Chicken Soggy or Not Crispy Enough?
This often stems from too much moisture on the chicken before breading, oil that isn’t hot enough, or overcrowding the pot, which drops the oil temperature. Ensure your chicken is patted bone-dry, the oil is consistently at 325-350°F, and drain on a wire rack post-fry.
Coating Falling Off the Chicken?
This usually indicates insufficient drying of the chicken, an incomplete double dredge, or skipping the crucial resting time for the breaded chicken. Ensure each step is followed meticulously to create a strong, adherent crust.
Chicken Cooked Outside, Raw Inside?
Your oil temperature was likely too high. While the outside quickly crisped, the interior didn’t have enough time to cook through. Lower the heat slightly to maintain 325-350°F and ensure consistent cooking for juicy fried chicken.
Is My Fried Chicken Too Greasy?
This is typically caused by oil that is too cool. When the oil isn’t hot enough, the chicken absorbs excess grease rather than forming a quick, crisp seal. Always ensure your oil is at the correct temperature before frying and drain well on a wire rack.
Serving Your Masterpiece: Delicious Pairings & Sides
Classic Fried Chicken is a feast in itself, but these pairings make it an unforgettable meal.
Classic Companions for Classic Fried Chicken
Creamy mashed potatoes, tangy coleslaw, and fluffy buttermilk biscuits are timeless choices. These sides perfectly complement the rich flavor and crispy texture of your golden fried chicken.
Complementary Dishes
To round out your fried chicken meal, consider these dishes.
- For a comforting base, try creamy garlic mashed potatoes and gravy, which soak up all the delicious chicken juices.
- Add a crunchy element with crispy fried onion strings, offering a satisfying texture contrast.
Creative Sides to Elevate Your Meal
Consider serving with a vibrant corn and black bean salad for a fresh contrast. Roasted sweet potatoes or a crisp green bean almondine also offer delicious, modern twists.
Drink Pairings for the Perfect Feast
Crisp lemonade or iced tea are refreshing non-alcoholic options. For an adult pairing, a light, crisp lager or a dry sparkling cider beautifully cuts through the richness of the fried chicken.
Planning Ahead: Storing and Reheating for Later Enjoyment
Don’t let any of your delicious homemade fried chicken go to waste.
Can You Make Classic Fried Chicken Ahead?
You can prepare the breaded chicken up to 30 minutes in advance, allowing it to rest on the wire rack before frying. For optimal freshness and crispness, however, it’s best enjoyed shortly after cooking.
Proper Storage Techniques for Leftovers
Store any leftover cooked fried chicken in an airtight container in the refrigerator for up to 3-4 days. Ensure it cools completely before sealing to prevent condensation and maintain quality.
Reheating for Maximum Crispness (The Right Way)
To restore that perfect fried chicken crunch, avoid the microwave. Reheat in an oven at 375°F (190°C) for 15-20 minutes, or in an air fryer at 350°F (175°C) for 8-10 minutes, until heated through and crispy. This ensures your leftover Classic Fried Chicken is almost as good as fresh.
Your Classic Fried Chicken Questions Answered
Here are answers to some common questions about making perfect fried chicken.
Can I use boneless chicken for this recipe?
Yes, you can use boneless chicken, but adjust cooking times significantly. Boneless cuts will cook much faster, typically 8-12 minutes total, and may require more careful temperature monitoring to prevent overcooking and drying out. The bone-in method offers superior juiciness.
What’s the best oil for frying chicken, and why?
The best oils are those with a high smoke point and neutral flavor, such as vegetable, canola, or peanut oil. These oils can withstand the high temperatures required for frying without breaking down or imparting unwanted tastes, ensuring a clean, crispy finish for your perfect fried chicken.
How do I know when the chicken is done without a thermometer?
While a thermometer is highly recommended for safety and accuracy, visual cues include deeply golden brown skin and clear juices running when pierced. You can also perform a sizzle test by dropping a pinch of flour in the oil; it should sizzle vigorously if hot enough. However, for true peace of mind and perfectly juicy fried chicken, an instant-read thermometer is your best tool.
Can I make this Classic Fried Chicken recipe gluten-free?
Yes, you can adapt this recipe to be gluten-free. Substitute the all-purpose flour with a 1:1 gluten-free all-purpose flour blend. Ensure your chosen blend contains xanthan gum for proper binding and crispiness, allowing you to enjoy this delicious homemade fried chicken.
Is it possible to bake or air fry this chicken instead?
While you can bake or air fry chicken using similar seasoning and breading, the resulting texture will differ from true Classic Fried Chicken. Baking or air frying will yield a crispy, but not quite the same deeply crunchy, fried texture. The “classic fried” method remains unparalleled for its signature crispness and flavor.
Ready to Impress? Share Your Crispy Fried Chicken Creation!
Now you have all the tools and secrets to create the most incredible, perfectly crispy Classic Fried Chicken right in your own kitchen. This isn’t just a recipe; it’s a journey to culinary confidence and delicious results.
Don’t wait any longer to experience that satisfying crunch and juicy tenderness. Try this recipe, gather your loved ones, and share the joy of truly unforgettable homemade fried chicken. We’d love to hear about your success and see your golden creations in the comments below!
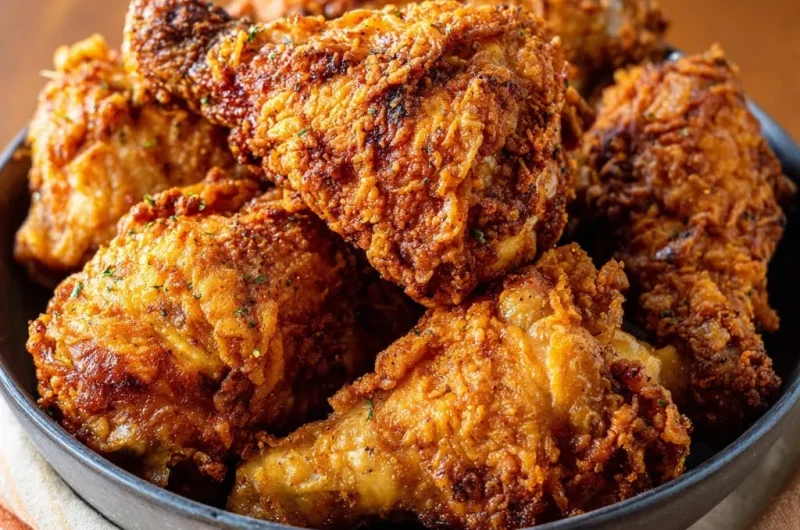
Fried Chicken
Course: Main CourseCuisine: AmericanDifficulty: medium8
servings40
minutes40
minutes650
kcal80
minutesCrack the code to incredibly crispy fried chicken that stays crunchy, bite after delicious bite! This recipe uses a crucial double-breading technique and resting period to ensure perfect adhesion and a golden, irresistible crust. Say goodbye to soggy chicken and hello to lasting crispness.
Ingredients
8 pieces bone-in, skin-on chicken (a mix of drumsticks and thighs)
2 cups all purpose flour
1 tablespoon salt
1 teaspoon black pepper
1 teaspoon garlic powder
1 teaspoon onion powder
1 teaspoon paprika
1/2 teaspoon cayenne pepper (optional, for a kick)
1/4 teaspoon dried parsley (for visual)
2 large eggs
1/2 cup milk
4 cups vegetable oil (or enough to submerge chicken halfway)
Directions
- Prepare the Chicken (Moisture Control is Key): Pat the chicken pieces absolutely dry with paper towels. This is crucial for a truly crispy crust that adheres well and avoids sogginess.
- Set Up Breading Station: In a large shallow bowl, whisk together the flour, salt, black pepper, garlic powder, onion powder, paprika, cayenne pepper (if using), and dried parsley. In another shallow bowl, whisk the eggs and milk together until well combined.
- First Dredge: Dip each dry chicken piece into the seasoned flour mixture, ensuring it’s fully coated. Shake off any excess.
- Wet Dip: Dip the floured chicken piece into the egg and milk mixture, letting any excess drip off.
- Second Dredge (Double Coat for Maximum Crispness): Immediately return the chicken piece to the flour mixture for a second, thorough coating. Press the flour firmly onto the chicken to ensure a thick, even crust. Place the breaded chicken on a wire rack set over a baking sheet.
- Rest the Chicken (Crucial for Adhesion & Crispness): Let the breaded chicken rest on the wire rack at room temperature for at least 15-20 minutes. This allows the coating to hydrate and adhere firmly to the chicken, preventing it from falling off and guaranteeing that coveted extra crispy texture.
- Heat the Oil (Maintain Consistent Temperature): In a large, heavy-bottomed pot or Dutch oven, heat the vegetable oil over medium-high heat until it reaches 350 degrees Fahrenheit (175 degrees Celsius). If you do not have a thermometer, a small pinch of flour dropped in should immediately sizzle vigorously.
- Fry the Chicken: Carefully add 3-4 chicken pieces to the hot oil, being careful not to overcrowd the pot. Overcrowding the pot significantly lowers the oil temperature and is a common cause of soggy fried chicken. Maintain the oil temperature as close to 325-350 degrees Fahrenheit (160-175 degrees Celsius) as possible throughout frying.
- Cook Thoroughly (Even Cooking for Juicy Results): Fry for about 6-8 minutes per side, turning occasionally, until the chicken is deeply golden brown and cooked through. Drumsticks will typically take about 12-15 minutes total, thighs about 15-18 minutes total. Ensure the internal temperature reaches 165 degrees Fahrenheit (74 degrees Celsius) with an instant-read thermometer.
- Drain and Rest (Prevent Soggy Bottoms): Once cooked, remove the chicken from the oil and place it on a clean wire rack set over paper towels or a baking sheet. Do not place the chicken directly on paper towels for too long, as this can trap steam underneath and make the bottom soggy. Allow it to drain and rest for a few minutes before serving. Repeat with remaining chicken pieces.
Notes
- Ensure chicken is patted very dry and rested after breading for best crispness. Maintain consistent oil temperature for perfect results.