For years, I struggled with the dense, rubbery texture that plagues most homemade muffins, almost giving up on achieving that elusive café-quality dome and crumb. Mastering the specific mixing and baking techniques was the game-changer, guaranteeing light, airy, and moist results every time you make these exceptional Bakery-Style Chocolate Chip Muffins.
This method focuses on controlled gluten development and thermal shock, ensuring your treats have a wonderfully tender crumb and the dramatic rise professional bakeries achieve. Forget gummy middles; this is the definitive guide to truly flawless muffins.
The Secret to Fluffy Perfection: What Sets This Muffin Recipe Apart?
Achieving truly bakery-style texture requires moving beyond simply measuring ingredients; it demands specific techniques that control the flour structure and the rate of rise.
Understanding how to manage air pockets is key, and you can discover more in Mastering Glazed Pumpkin Walnut Donuts.
Our method utilizes two primary secrets: controlled, minimal mixing and a crucial two-stage baking temperature change.
The “Anti-Gummy” Technique: Understanding Controlled Mixing
The number one enemy of a soft muffin is overmixing. When flour and liquid combine, gluten begins to form, and extensive stirring develops too much of this elastic protein.
This recipe calls for combining the wet and dry ingredients only until streaks of flour remain, which takes about 15 seconds of gentle stirring.
By under-mixing, we inhibit gluten formation, resulting in a perfectly tender, melt-in-your-mouth crumb structure instead of a tough, rubbery interior.
The Dome Effect: Mastering the High-Then-Low Baking Temperature
To get that signature craggy, high muffin dome, you need an initial powerful blast of heat. Starting the bake at 400°F creates a thermal shock.
This initial high heat causes the baking soda to activate rapidly and the exterior of the batter to set quickly, forcing all subsequent expansion upward.
After five minutes, dropping the temperature to 375°F allows the interior to finish cooking thoroughly without burning the tops, ensuring the muffin is fully baked through and set.
Moisture Magnets: The Role of Brown Sugar and Bananas
Dryness is another common muffin failure, which we prevent by optimizing our liquid and sugar content.
We use packed light brown sugar instead of granulated white sugar because its natural molasses content attracts and retains moisture.
The addition of mashed ripe bananas acts as a secondary moistener and binder, ensuring a rich, soft texture that stays fresh longer.
For a different kind of rich chocolate experience, explore ultimate fudgy cocoa brownies.
The Essential Ingredients for Your Bakery-Style Chocolate Chip Muffins
High-quality ingredients, prepared correctly, are the foundation of any great bake.
Flour Power and Leavening
We use standard all-purpose flour for its moderate protein content, which is strong enough to support the rise but forgiving enough when minimally mixed.
Baking soda is the primary leavening agent here, working with the acids in the brown sugar and bananas to lift the batter dramatically.
Room Temperature Eggs and the Whole Milk Difference
Using eggs that are at room temperature is vital; they incorporate far better into the wet mixture, creating a smoother emulsion that leads to a uniform batter structure.
Whole milk is strongly preferred because its higher fat content contributes significantly to the richness and moistness of the final Bakery-Style Chocolate Chip Muffins.
Melted Butter vs. Creamed Butter: Why Melted Wins Here
Unlike cakes, which often rely on creaming butter and sugar for air, muffins often use melted butter for a deeper, richer flavor and moist crumb.
The melted fat fully coats the dry ingredients, but its potential to create a denser product is counteracted by our strictly controlled, minimal mixing technique.
Embracing the Banana and Cinnamon Duo
The mashed ripe banana not only provides essential moisture but also imparts a subtle sweetness and body, improving the mouthfeel.
A touch of cinnamon is optional but highly recommended; it adds a layer of warm complexity that beautifully complements the melted chocolate and enhances the overall bakery flavor profile.
Preparing for Muffin Success: Essential Tools and Oven Prep
A small investment in time for proper preparation guarantees a smooth baking process and perfect results.
Essential Equipment Checklist
Two Large Mixing Bowls: Necessary for keeping the wet and dry ingredients separate until the final, quick mix.
Whisk and Rubber Spatula: The whisk ensures smooth mixtures; the spatula is crucial for the gentle folding technique.
12-Cup Muffin Tin and Liners: Using liners ensures easy release, but grease your tin thoroughly if skipping them.
Preheat Precision: Getting the Oven Ready to Maximize Rise
Accurate preheating to the initial 400°F is non-negotiable for maximizing the height and dome formation of these muffins.
The thermal shock achieved only with a fully preheated oven is what sets this recipe apart from flatter, standard muffins.
Creating the Perfect Crumb: Step-by-Step Guide to Baking
Follow these precise instructions carefully, paying special attention to the mixing and baking times, to ensure tender, tall muffins.
-
The Initial Preparation and Lining:
Preheat your oven to the crucial 400 degrees F. Line a 12-cup standard muffin tin with paper liners, or grease the cups thoroughly if baking liner-free.
-
Combining Dry Ingredients Thoroughly:
In your largest bowl, whisk together the flour, brown sugar, baking soda, salt, and cinnamon (if using).
Ensure you whisk vigorously until the brown sugar lumps are completely broken down and the leavening is evenly distributed throughout the mixture.
-
Preparing the Wet Mixture:
In a separate medium bowl, whisk together the room temperature eggs, milk, vanilla, and the mashed ripe bananas.
Slowly whisk in the melted butter, ensuring it is slightly cooled-if the butter is too hot, it will scramble the eggs upon contact. Whisk until the mixture is uniform.
-
Executing The Anti-Gummy Muffin Method (The Critical Step):
Pour the wet ingredients directly into the dry ingredients. Switch immediately to a rubber spatula or wooden spoon.
Stir GENTLY using only about 10-15 strokes until the mixture is just combined. You must still see visible streaks of flour.
Stop mixing after about 15 seconds, regardless of how much flour remains. This under-mixing is the secret to a light, non-rubbery crumb.
-
The Gentle Fold-In:
Gently fold in 3/4 cup of the chocolate chips into the prepared batter.
Use minimal movements during this step to avoid reactivating the gluten you just worked so hard to keep dormant.
-
Filling the Cups Completely for Height:
Scoop the batter evenly into the prepared muffin tin, filling each cup almost completely-about three-quarters full is ideal.
Overfilling slightly, combined with the high initial temperature, maximizes the surface area for the dramatic rise and dome formation.
-
The Bake High, Then Low Timeline:
Bake the muffins at 400 degrees F for exactly 5 minutes.
After 5 minutes, without opening the oven door, reduce the oven temperature to 375 degrees F and continue baking for another 15 to 18 minutes.
The muffins are done when a toothpick inserted into the center of the tallest one comes out clean or with only a few moist crumbs attached.
-
Cooling Strategy for Optimum Texture:
Let the muffins cool in the tin for 5 minutes immediately after removing them from the oven.
This allows the internal structure to stabilize. Then, transfer them immediately to a wire rack to cool completely, preventing steam buildup that can lead to soggy bottoms.
Chef’s Secrets: Tips for Next-Level Bakery-Style Chocolate Chip Muffins
Elevate your baking with these expert tricks for professional results.
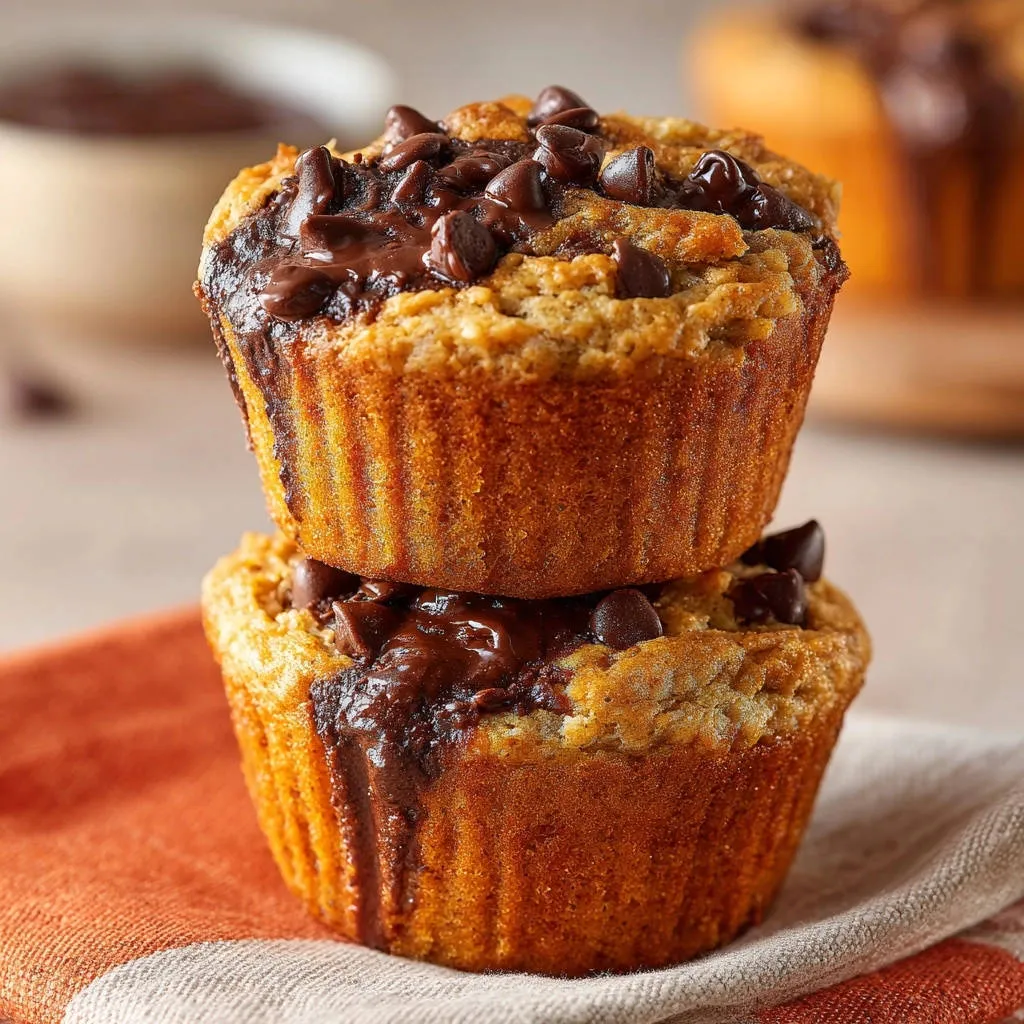
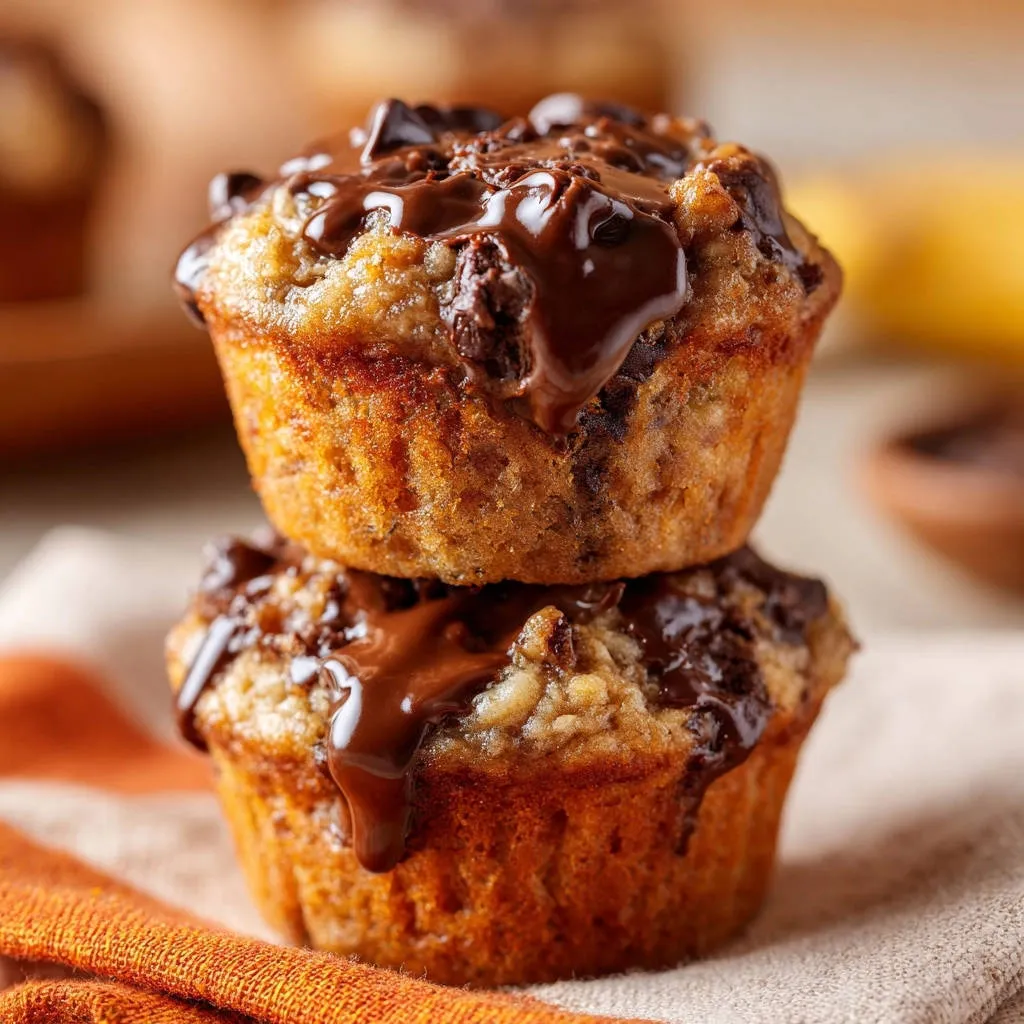
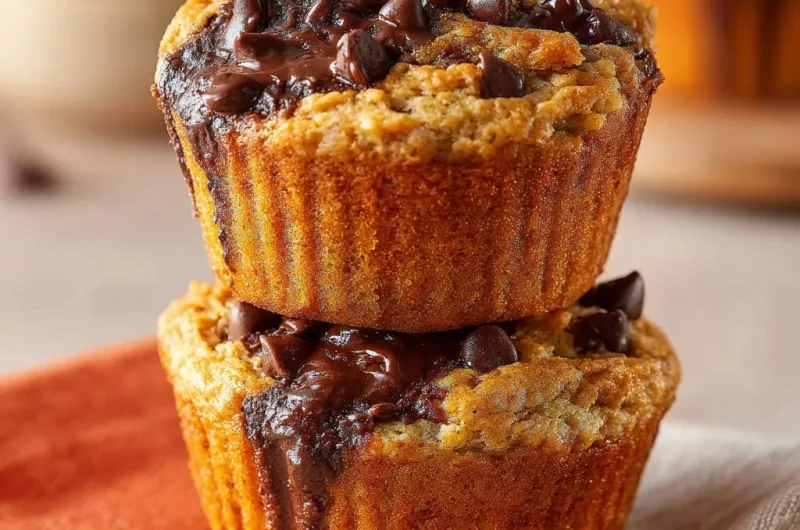
The Power of the Topping Chocolate: Before baking, sprinkle the remaining 1/4 cup of chocolate chips generously over the top of the batter in each cup.
These exposed chips will melt and caramelize, creating a beautiful, craggy, professional aesthetic that screams “bakery-style.”
Preventing Sunken Muffins: Never open the oven door during the crucial 400°F phase or immediately after reducing the temperature.
A sudden draft or temperature drop can cause the rapidly rising structure to deflate and sink permanently.
Use the Muffin Scoop: Invest in a large ice cream or cookie scoop (about 1/3 cup capacity) to portion your batter.
Uniform sizing ensures every single muffin bakes at the same consistent rate, preventing some from being underdone while others dry out.
Give it a Rest: For the absolute best dome and texture, cover your mixed batter and let it rest at room temperature for 15-30 minutes before scooping and baking.
This allows the flour to fully hydrate, which creates a slightly thicker batter that rises even higher and retains more moisture.
Customizing Your Chocolate Chip Muffins: Flavor Swaps and Dietary Needs
Make It Dairy-Free: Substitutes That Work
You can easily swap whole milk for a full-fat oat milk or almond milk without major adjustments to the wet ingredients.
Substitute the melted unsalted butter with an equal amount of high-quality vegan butter sticks or refined coconut oil, which has a neutral flavor.
Add-Ins and Flavor Variations
For added crunch, fold in 1/2 cup of finely chopped walnuts or pecans alongside the chocolate chips.
If you prefer a richer flavor, swap 1/4 cup of the all-purpose flour for unsweetened cocoa powder (use 1/2 teaspoon less baking soda if doing this swap to account for the cocoa’s acidity).
Adjusting for Less Ripe Bananas
Using very ripe, speckled bananas ensures easy mashing and maximum natural sweetness, but if yours are slightly firm, don’t worry.
To soften firm bananas quickly, microwave them on high for 30-60 seconds, which makes them easier to mash and brings out more natural moisture.
Storage, Freezing, and Serving Your Freshly Baked Muffins
How Long Do Bakery-Style Chocolate Chip Muffins Stay Fresh?
Store these Bakery-Style Chocolate Chip Muffins at room temperature in an airtight container for up to 3 days.
Avoid refrigerating muffins, as the cool air speeds up the staling process and can dry out the crumb.
Can I Freeze the Baked Muffins for Later?
Yes, muffins freeze beautifully! Once completely cooled, wrap each muffin individually in plastic wrap, then place them inside a large freezer bag.
They maintain quality for up to 3 months. To thaw, simply unwrap and let them sit at room temperature for a couple of hours or reheat gently in the microwave or oven.
The Best Ways to Serve Warm Muffins
While delicious straight from the rack, these muffins shine when slightly warmed for 15 seconds in the microwave.
Serve them plain to savor the rich chocolate and banana notes, or elevate them with a smear of salted butter or a drizzle of local honey.
Troubleshooting Common Muffin Issues
Why Did My Muffin Tops Crack and Fall?
If your tops cracked excessively but collapsed upon cooling, the primary cause is usually removing them from the oven before the centers were fully set.
Trust the toothpick test in the center; if it looks wet, give the muffins another 2-3 minutes, even if the tops appear dark.
Help! My Muffins Are Dry and Crumbly.
Dryness is almost always a result of overmixing the batter, which develops too much gluten and leads to a stiff, dry structure.
It can also be caused by overbaking; ensure you check them right at the 15-minute mark after dropping the oven temperature.
Ready to Bake? Share Your Muffin Masterpiece!
Achieving the perfect, light, and tender Bakery-Style Chocolate Chip Muffins is entirely possible once you adopt the critical “Anti-Gummy” mixing method and the high-then-low baking strategy.
This recipe transforms a notoriously difficult bake into a consistent success. Stop settling for dense muffins and start enjoying these fluffy, moist masterpieces today.
Bake a batch, share the warmth, and discover why this is the only chocolate chip muffin recipe you’ll ever need.
More Sweet and Savory Ideas
Enjoy these chocolate chip muffins with something warm and comforting.
- For a perfect complement to your muffins, consider making fluffy homemade dinner rolls, offering a soft, yielding texture.
- If you’re looking for another comforting bake, try this sweet potato casserole recipe for a sweet and satisfying addition.
Banana Chocolate Chip Muffins
Course: BakingCuisine: AmericanDifficulty: easy4
12 muffins15
minutes23
minutes350
kcal45
minutesStop struggling with dense, rubbery muffins! This recipe guarantees a light, tender crumb and the high, domed tops found in professional bakeries. The secret lies in quick, gentle combination of ingredients to prevent gluten overdevelopment.
Ingredients
1 and 3/4 cups All-Purpose Flour
1 cup Packed Light Brown Sugar
1 teaspoon Baking Soda
1/2 teaspoon Salt
1 teaspoon Cinnamon (optional, but recommended)
2 large Eggs (room temperature is best)
1/2 cup Milk (whole milk preferred)
1/2 cup Unsalted Butter, melted and slightly cooled
1 teaspoon Vanilla Extract
1 cup Mashed Ripe Bananas (about 2 medium bananas)
1 cup Semi-Sweet Chocolate Chips, divided
Directions
- Prepare Oven and Muffin Tin: Preheat your oven to 400 degrees F. Line a 12-cup standard muffin tin with paper liners or grease thoroughly.
- Combine Dry Ingredients: In a large bowl, whisk together the flour, brown sugar, baking soda, salt, and cinnamon until thoroughly combined and there are no lumps of brown sugar remaining.
- Combine Wet Ingredients: In a separate, medium bowl, whisk together the eggs, milk, melted butter, vanilla extract, and mashed bananas until fully incorporated.
- Execute The Anti-Gummy Muffin Method: Pour the wet ingredients directly into the dry ingredients. Stir GENTLY using a spatula or wooden spoon only until just combined. You should still see visible streaks of flour. Stop mixing after about 15 seconds. This under-mixing is the secret to a tender crumb. Overmixing develops too much gluten, which causes that dense, rubbery, gummy texture we want to avoid.
- Add Chocolate: Gently fold in 3/4 cup of the chocolate chips. Do not continue stirring unnecessarily.
- Fill and Bake: Scoop the batter evenly into the prepared muffin tin, filling cups almost completely (this helps create a nice dome). Sprinkle the remaining 1/4 cup of chocolate chips over the top of the batter in each cup.
- Bake High, Then Low: Bake the muffins at 400 degrees F for 5 minutes. This initial burst of heat helps the muffins rise quickly and form the perfect dome. After 5 minutes, reduce the oven temperature to 375 degrees F (do not open the oven door) and continue baking for another 15 to 18 minutes, or until a toothpick inserted into the center comes out clean.
- Cool: Let the muffins cool in the tin for 5 minutes before transferring them to a wire rack to cool completely.
Notes
- Uses a ‘Bake High, Then Low’ temperature method (400°F then 375°F) to ensure maximum dome height. Do not overmix the batter.