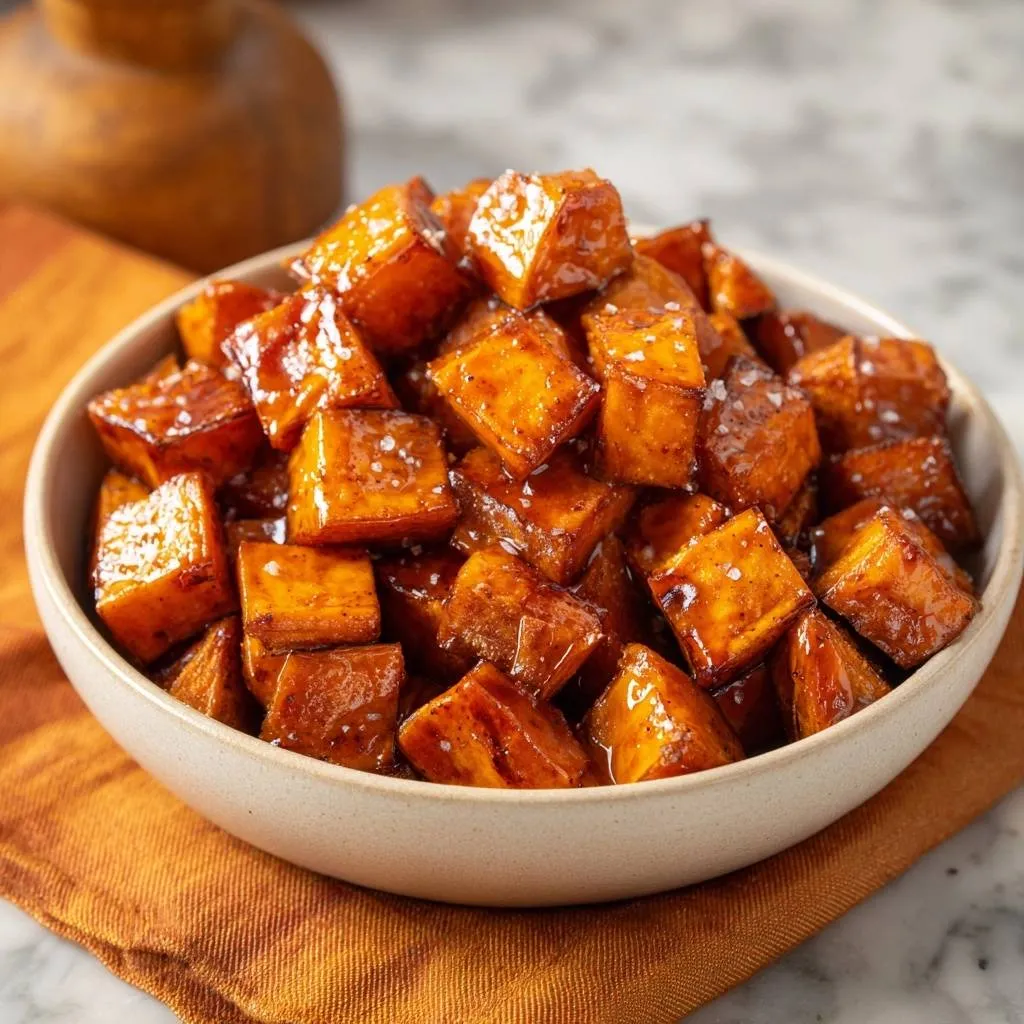
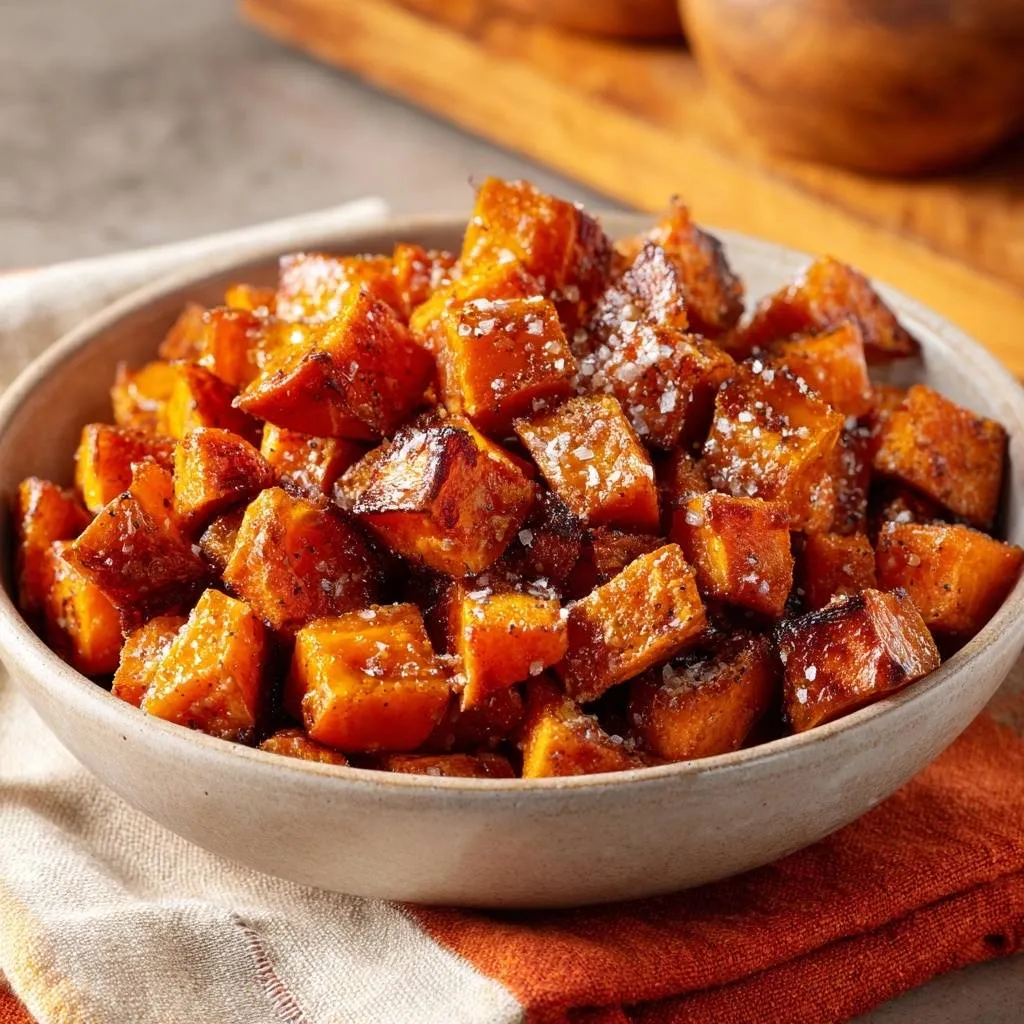
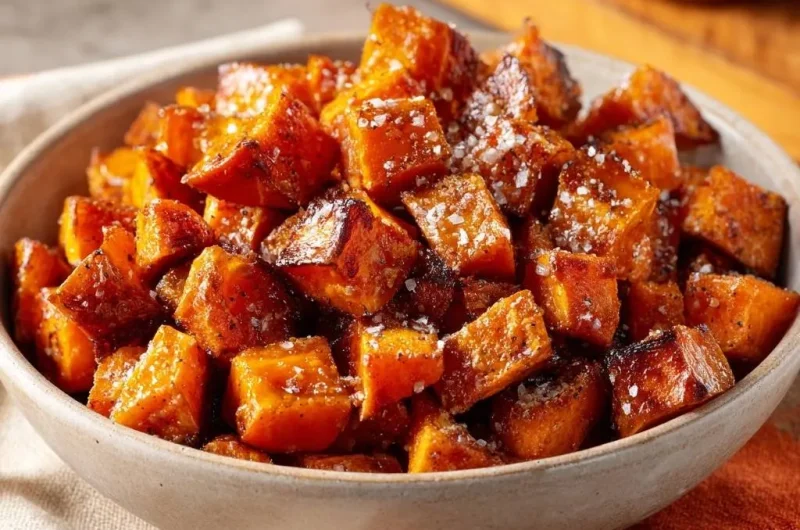
Why do your sweet potato cubes always turn to mush? Most recipes skip the key step that locks in firm texture. These glazed sweet potato bites fix that with a dry-sear-glaze method. You get crispy edges, tender centers, and a glossy cinnamon shine every time.
Therefore, this dish upgrades any meal. It shines as a holiday side or quick snack. No more soggy failures; instead, enjoy beta-carotene-packed bites with fiber that satisfy.
The secret lies in patting cubes bone-dry before searing. That prevents steaming and triggers perfect browning. You’ll taste the difference in these glazed sweet potato bites.
Why Glazed Sweet Potato Bites Transform Sides
Glazed sweet potato bites bring versatility to your table. Serve them at holidays, weeknights, or parties. They beat mushy versions hands down.
In addition, sweet potatoes pack beta-carotene and fiber for health perks. This recipe keeps them firm-tender through smart searing. Keyword variations like glazed sweet potato cubes highlight their appeal.
However, traditional methods often steam instead of sear. That’s why yours end up soft. These bites stay intact with glossy glaze.
From Mush to Magic: Texture Breakthrough
Wet cubes steam in the pan, trapping moisture for mush. Pat them dry first, and they sear beautifully. This triggers Maillard browning for golden edges.
Therefore, visualize crisp outsides with fork-tender insides. Dry prep changes everything in glazed sweet potato bites.
Selecting Perfect Sweet Potatoes for Bites
Pick firm, medium orange-fleshed sweet potatoes. They yield uniform 1-inch cubes for even cooking. Avoid soft spots or sprouts.
Garnet or jewel varieties work best. Store them in a cool, dark spot for up to two weeks. Uniformity ensures perfect results in glazed sweet potato bites.
However, larger ones take longer to cook evenly. Stick to medium sizes.
Uniform Cubes: Cutting Precision Guide
Peel with a veggie peeler, then slice into 1-inch planks. Dice into even cubes using a sharp chef’s knife. Even sizes sear perfectly.
Therefore, aim for uniformity to avoid underdone centers. It’s quick and foolproof.
Drying Secret for Crisp Glazed Sweet Potato Bites
Pat cubes bone-dry with paper towels; it’s non-negotiable. Surface moisture causes steam, not sear. Multiple layers absorb every drop.
In addition, air-dry for 10 minutes if time allows. This sets up Maillard browning for crisp glazed sweet potato bites.
Skip it, and you’ll get mush. Dryness guarantees success.
For a similar smooth texture, check out how to achieve creamy garlic mashed potatoes.
Essential Ingredients for Glossy Glaze
Start with 4 medium sweet potatoes for 4 servings. Use 2 tablespoons vegetable oil for high-heat searing. Then, 4 tablespoons unsalted butter prevents excess saltiness.
Next, 1/2 cup brown sugar melts into shine. Add 1 teaspoon ground cinnamon, 1/2 teaspoon salt, and flaky sea salt on top. Coconut oil swaps for vegan twists.
Therefore, these create glossy glazed sweet potato bites. Scale up easily for crowds.
Brown Sugar and Cinnamon Balance
This ratio caramelizes without overwhelming sweetness. Use fresh brown sugar for best melt. Sniff cinnamon; it should smell vibrant.
Light or dark both work, but dark adds deeper flavor. Perfect balance every time.
Equipment Choices for Flawless Bites
Grab a large cast iron skillet for heat retention. It outperforms baking sheets for even searing in glazed sweet potato bites.
Use vegetable oil’s high smoke point. Tongs flip without breaking cubes; a fork tests tenderness. No fancy tools needed.
Therefore, basics deliver pro results.
Seizing the Sear: First Phase Heat
Heat oil over medium-high until shimmering, about 2 minutes. Ripples signal readiness. Add cubes in a single layer; batch if your pan’s small.
Sear undisturbed 4-5 minutes for golden edges. They’ll release when ready, thanks to dry surfaces. This builds firm texture.
However, crowding steams them. Work in batches for glazed sweet potato bites perfection.
Flipping Technique Without Breaking
Grip tongs firmly and flip each cube. Sear remaining sides 3-4 minutes. Look for even browning and firm feel.
Don’t poke constantly; let heat work. Visual cues guide you.
Building the Shiny Glaze Coating
Drop heat to medium. Add butter, brown sugar, cinnamon, and salt. Stir gently as sugar melts into glossy glaze, 4-5 minutes.
Then cook 5 more minutes until fork-tender and shiny. Avoid over-stirring to keep glazed sweet potato bites intact. The glaze thickens beautifully.
Pro tip: Taste for salt balance here.
Finishing Flaky Salt Crunch
Off heat, sprinkle flaky sea salt like Maldon. It adds crunch against sweet glaze. Do it warm for best stick.
This contrast elevates every bite.
Science of No-Mush Glazed Sweet Potato Bites
Dry searing sparks Maillard reaction for flavor and crispness. Wet cubes can’t brown properly. Glaze inverts sugar for shine.
Starch gelatinizes just right for tender-firm centers. Skillet heat transfers evenly, beating oven roasting.
Therefore, moisture control wins in glazed sweet potato bites.
Moisture Control in Every Step
Cook lid-off to evaporate steam. Glaze reduces without sogginess. Every phase locks in texture.
No mush means pure joy.
Avoiding Pitfalls in Glazed Sweet Potato Bites
Crowding steams; always batch. Over-stirring breaks cubes into mush. Use fork test for doneness.
Watch heat to prevent glaze burn. Scale carefully for larger batches.
However, follow steps, and pitfalls vanish.
Batch Cooking for Crowds
Sear in batches, then finish in a 400°F oven. Reheat in skillet for crispness. Keeps texture for parties.
Flavor Twists on Glazed Sweet Potato Bites
Swap maple for brown sugar. Add chipotle for heat or rosemary for herb notes. Tahini brings nuttiness.
Vegan? Use plant butter. Keep the dry-sear core intact.
Therefore, customize endlessly.
Looking for More Sweet Potato Goodness?
If you enjoyed these glazed sweet potato bites, you might like these other takes on the versatile vegetable.
- For a classic dessert with a similar star ingredient, consider this Classic Sweet Potato Pie, offering a different way to enjoy sweet potatoes.
- If you’re interested in perfecting texture in sweet potato baking, the Classic Sweet Potato Pie recipe addresses common issues for a smoother result.
Pairing Glazed Sweet Potato Bites Perfectly
Pair with roast chicken or turkey for holidays. Salmon loves the sweet contrast. Add to salads or grains.
Sweet-savory balance shines. Perfect side upgrade.
For equally satisfying side dishes, consider the technique in fluffy loaded garlic mashed potatoes.
Storage and Reheating for Bites
Store airtight in fridge up to 4 days. Freeze in single layers for 2 months; thaw overnight.
Reheat in skillet over medium for crisp glaze. Microwave softens them, so avoid if possible. Make-ahead: Dry cubes day before.
Glazed Sweet Potato Bites: Common Queries
Can I bake these instead of skillet?
Skillet sears better for crisp edges in glazed sweet potato bites. Baking dries them out without glaze shine. Stick to pan for texture mastery.
Are these vegan-friendly?
Yes, swap butter for vegan version or coconut oil. All else stays the same. Dry-sear keeps them perfect.
What if I want smaller bites?
Cut to 3/4-inch; reduce sear to 3 minutes per side. Check tenderness earlier. Glaze coats beautifully still.
Can I prep ahead?
Dry and cube up to 24 hours ahead; store covered in fridge. Sear fresh for best crunch in glazed sweet potato bites.
How many calories per serving?
About 250 calories for 1 cup serving. Sweet potatoes provide fiber; glaze adds indulgence. Nutrient-dense side.
Scaling for Different Servings
Double ingredients for 8; use two skillets or batch. Don’t overcrowd. Pan size matters for even heat.
Glazed Sweet Potato Bites
Course: Side DishCuisine: AmericanDifficulty: easy4
servings15
minutes20
minutes280
kcal35
MinutesSick of sweet potato cubes turning into mush? Pat them bone-dry and sear hot for firm-tender texture, then glaze with butter, brown sugar, and cinnamon for glossy perfection.
Ingredients
4 medium sweet potatoes, peeled and cut into 1-inch cubes
2 tablespoons vegetable oil
4 tablespoons unsalted butter
1/2 cup brown sugar
1 teaspoon ground cinnamon
1/2 teaspoon salt
Flaky sea salt for topping
Directions
- Peel and cut sweet potatoes into uniform 1-inch cubes. Pat them completely dry with paper towels, removing all surface moisture. This is the game-changer step: dry cubes sear instead of steam, guaranteeing no mushy bites.
- Heat oil in a large skillet over medium-high heat until shimmering hot, about 2 minutes. Add sweet potato cubes in a single layer (work in batches if needed). Sear undisturbed for 4-5 minutes until golden-brown edges form and they release easily. Flip and sear other sides 3-4 minutes more for firm texture.
- Reduce heat to medium. Add butter, brown sugar, cinnamon, and salt. Stir gently to coat as sugar melts into glossy glaze, 4-5 minutes. Cook until cubes are tender-firm when pierced with a fork and glaze thickens shiny, about 5 minutes. Avoid over-stirring to keep cubes intact.
- Remove from heat. Sprinkle generously with flaky sea salt for crunch. Serve warm. Perfect every time!
Notes
- Key to success: Pat cubes completely dry before searing to prevent steaming and ensure golden, firm edges. Work in batches for single layer. Flaky sea salt adds perfect crunch.